5. Device
5.1. Device info
You can click the link on the “Fast” page or “Tab” page to enter the device details page. On this page, you can view information about the device status, working temperature, working hours, current power, accumulated electric energy, current current and voltage, etc. information.
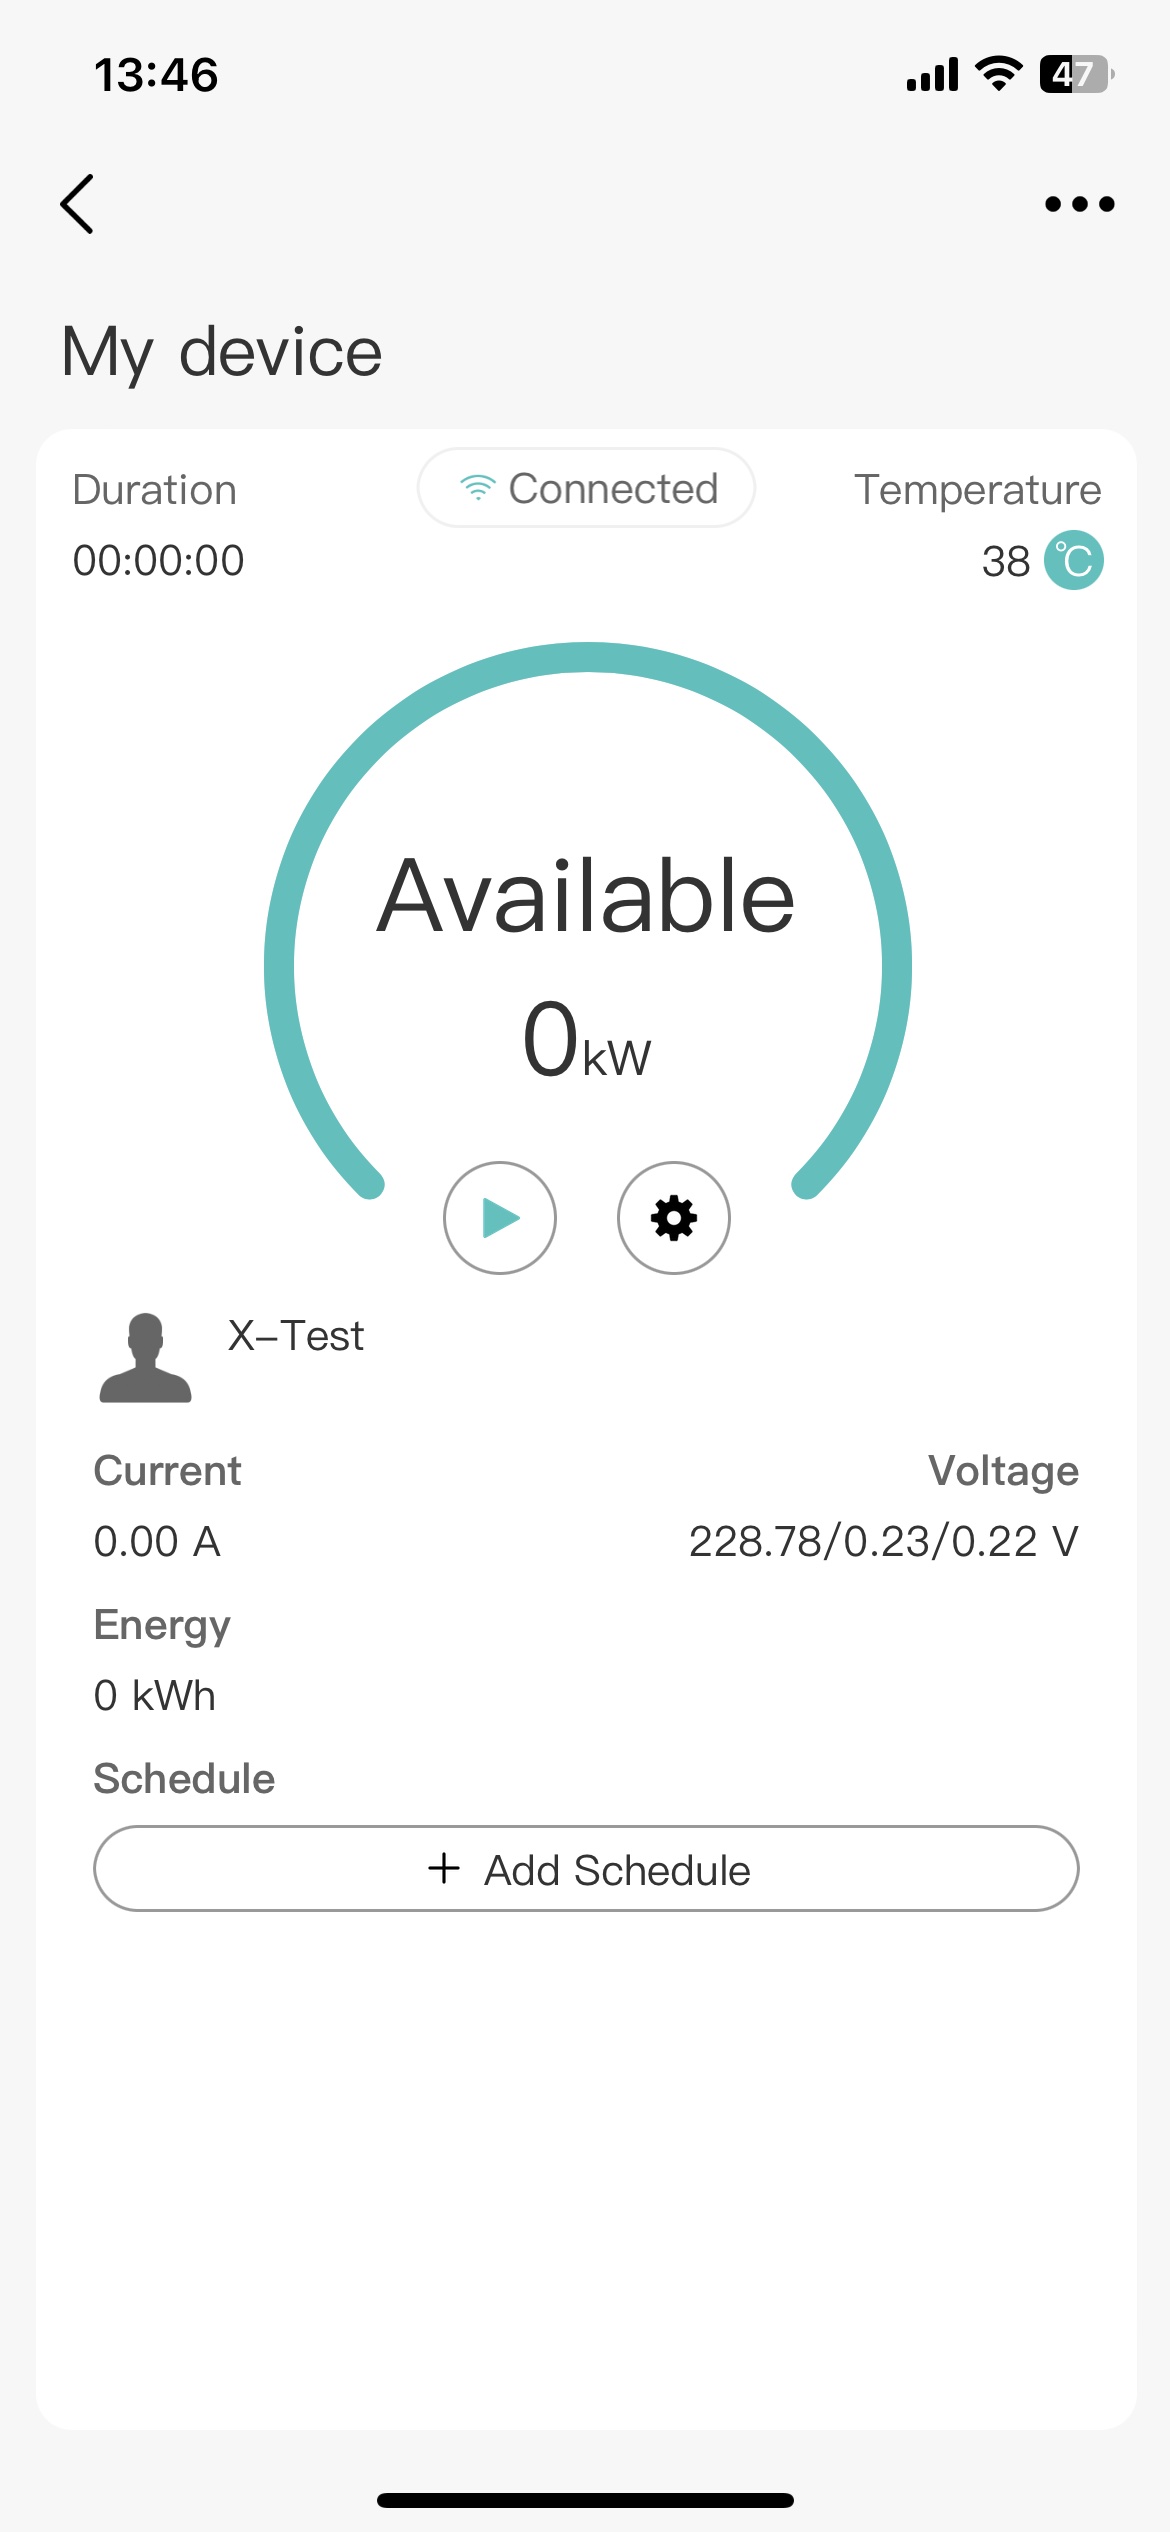
We need to describe all the states of the charging pile:
Device status
Status |
Explanation |
|---|---|
Available |
The charging station is ready and available to provide charging service to electric vehicles (EVs). |
Preparing |
The charging station is performing pre-charge initialization tasks, such as system checks or preparing to start the charging process. |
Charging |
The EV is actively receiving charging from the charging station, and the charging process is in progress. |
SuspendedEVSE |
The charging session is temporarily paused, but the charging station remains available. This can happen due to issues detected by the charging station or user-initiated interruption. |
SuspendedEV |
The charging session is temporarily paused, and the EV is unable to access charging services. This can happen when the EV is temporarily halted from charging, such as when the user manually disconnects or the EV reaches full charge. |
Finishing |
The charging station is finishing up the charging process, such as transitioning the EV from fast charging to trickle charging. |
Reserved |
The charging station’s charging point is reserved and unavailable for other users to charge their EVs. |
Unavailable |
The charging station is temporarily unavailable and unable to provide charging service. This can happen due to equipment malfunctions, maintenance, or other reasons for downtime. |
Faulted |
The charging station has encountered a fault or error and is unable to operate normally. Repair or reboot of the equipment may be required. |
5.2. Start Charge
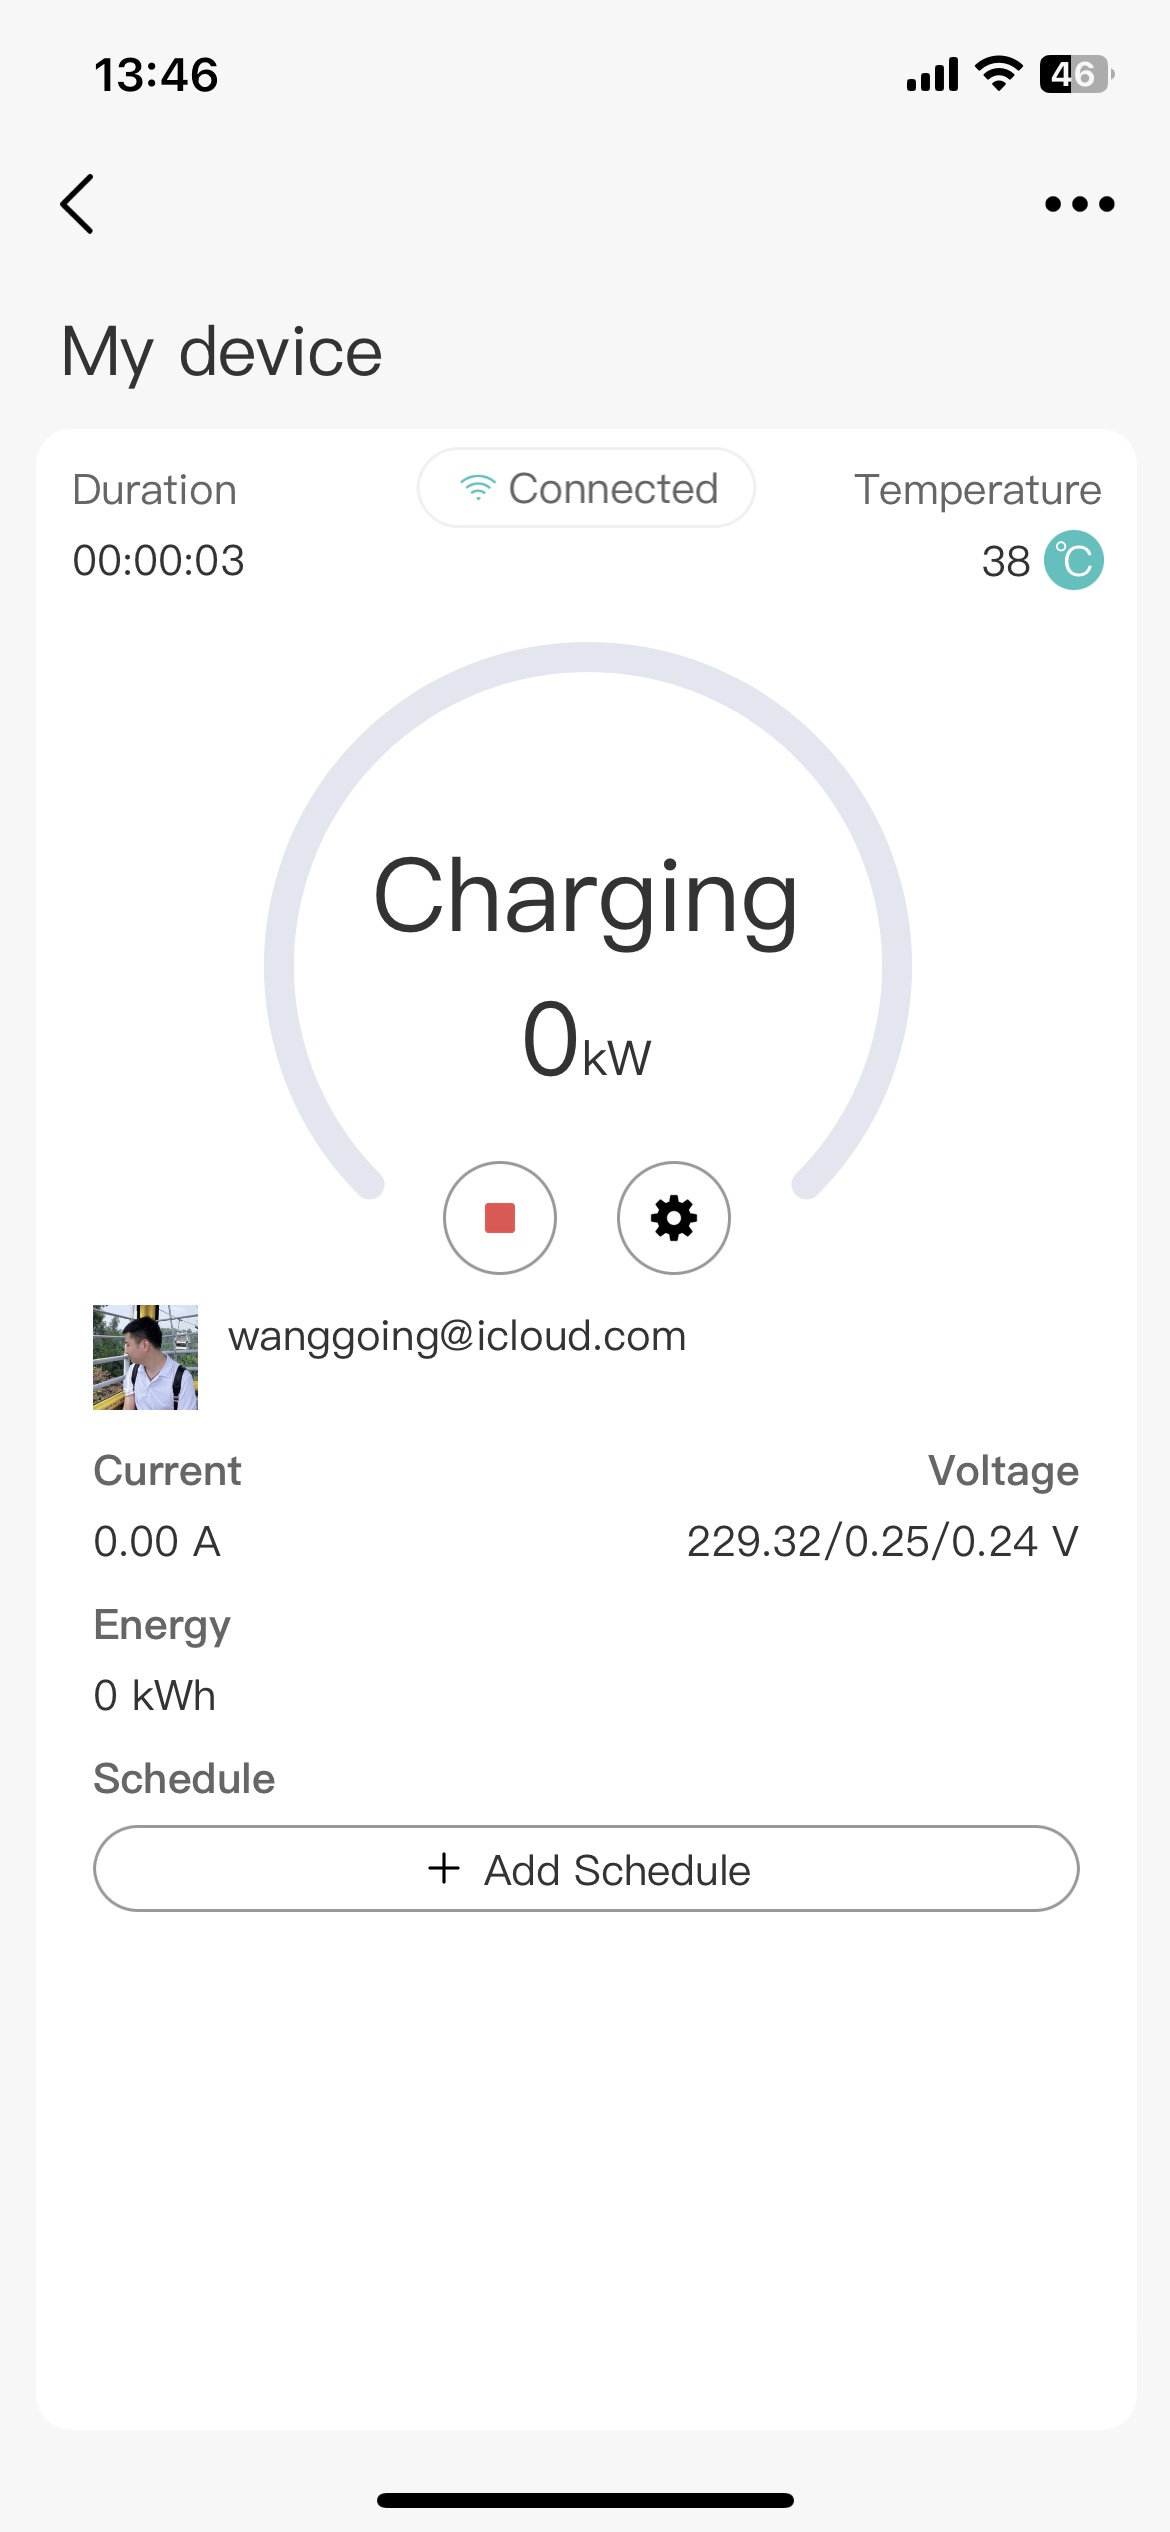
When you have connected the device to the EV, click the “Start” button on this page, and the device will start charging.
5.3. Stop Charge
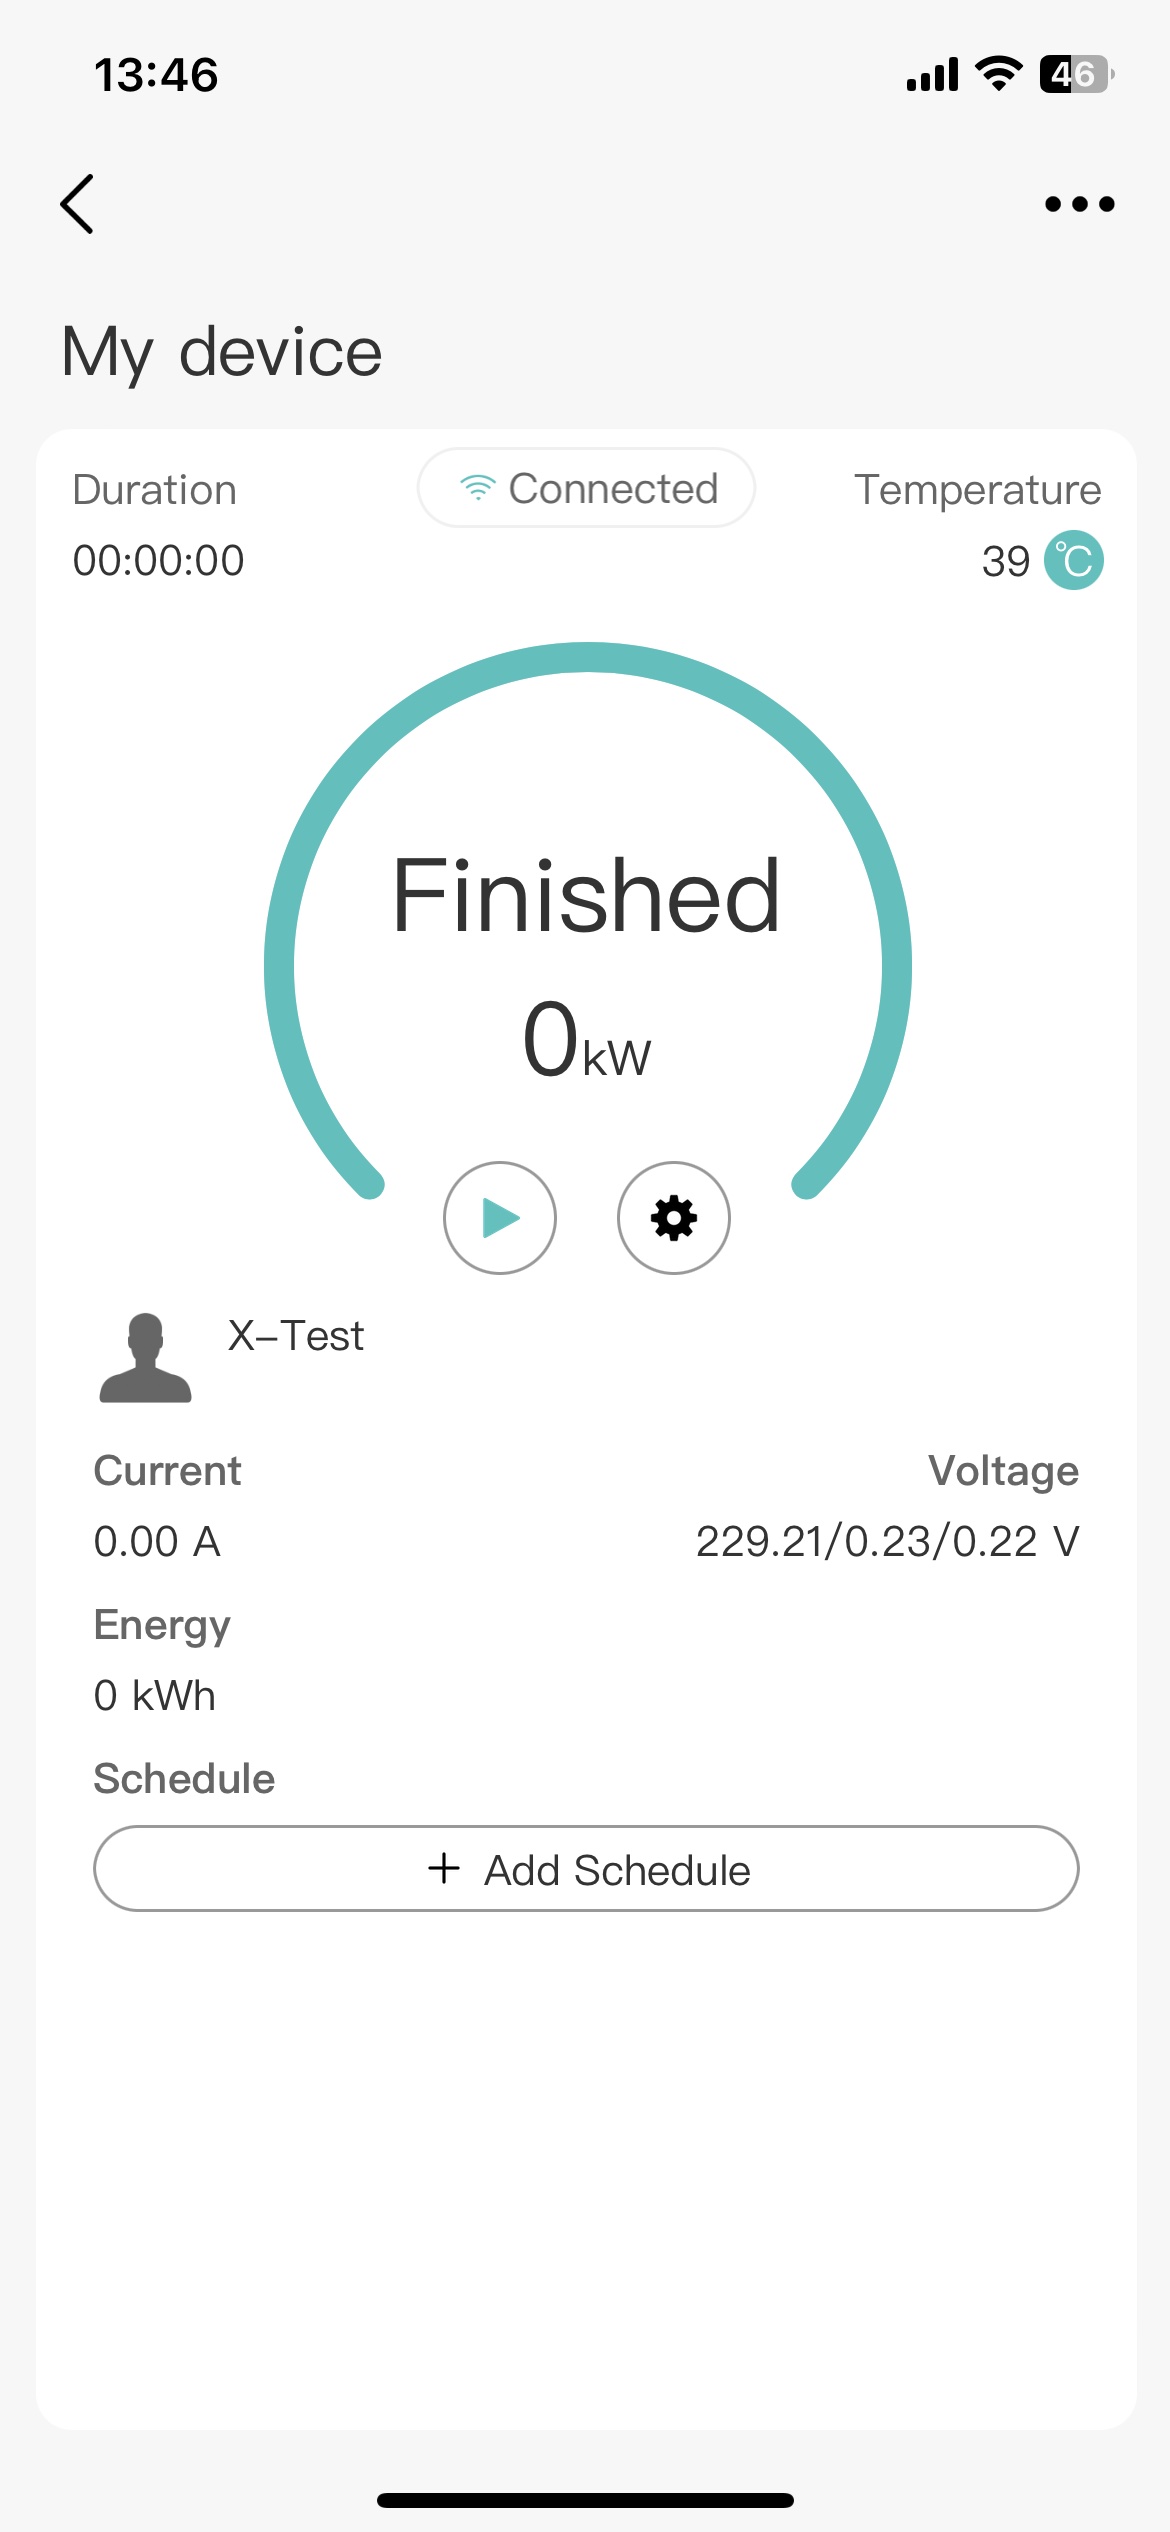
When you need to stop charging the EV, click the “Stop” button on this page, and the device will stop charging.
Note: We also provide you with a demonstration video.
5.4. Device parameters
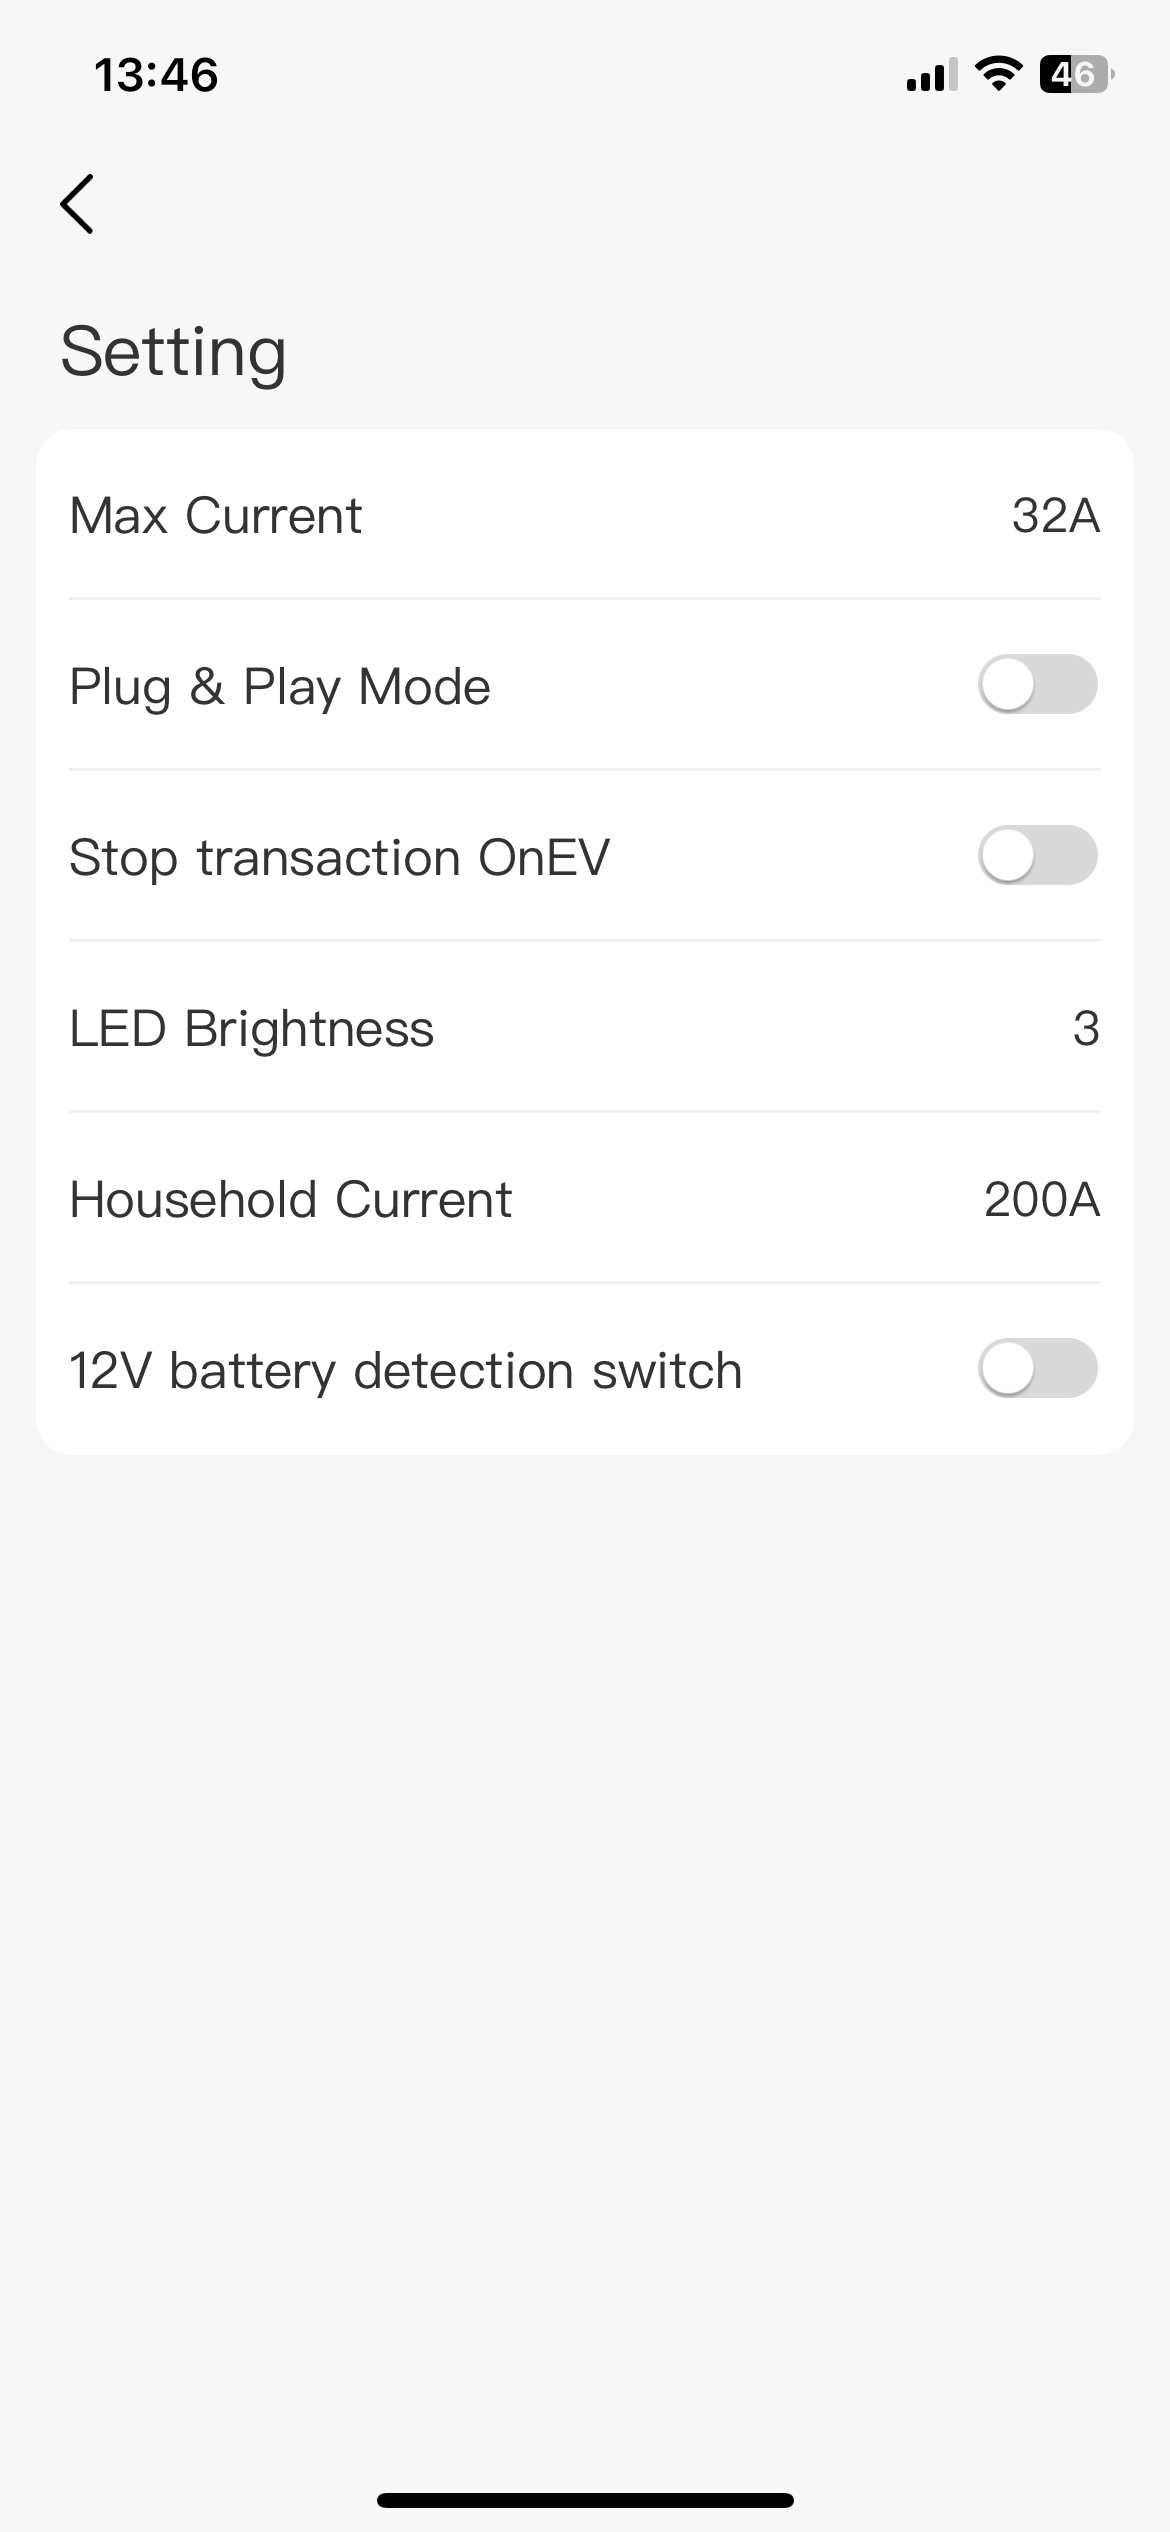
You can adjust the basic parameters of the device.
5.4.1. Max current
The device uses the maximum current to work by default, and you can adjust the working current within the allowable range of the device. To adapt to the charging power of different environments.
Power |
Scope |
|---|---|
3.5kW |
6A~16A |
7KW |
6A~32A |
9.6KW |
6A~40A |
11KW |
6A~16A |
22KW |
6A~32A |
5.4.2. Plug & Play mode
When the cable is plugged into the EV, the device will start charging the EV.
5.4.3. Stop transaction OnEV
Charging will stop when the cable is disconnected from the EV.
5.4.4. LED brightness
The brightness of the device LED screen.
Type |
Scope |
|---|---|
brightness |
1~3 |
5.4.5. Household current
Total current when connected to the device.
5.4.6. 12V battery detection switch
When the 12V level detection is abnormal, the abnormal information will be displayed for you.
Note: We also provide you with a demonstration video.
5.5. Scheduling charging
Set the expected charging start time and the expected end charging time. The charging station will start charging during this time period, and you can also set the device to start charging at a specified time period every week or every day (check all from Monday to Sunday).
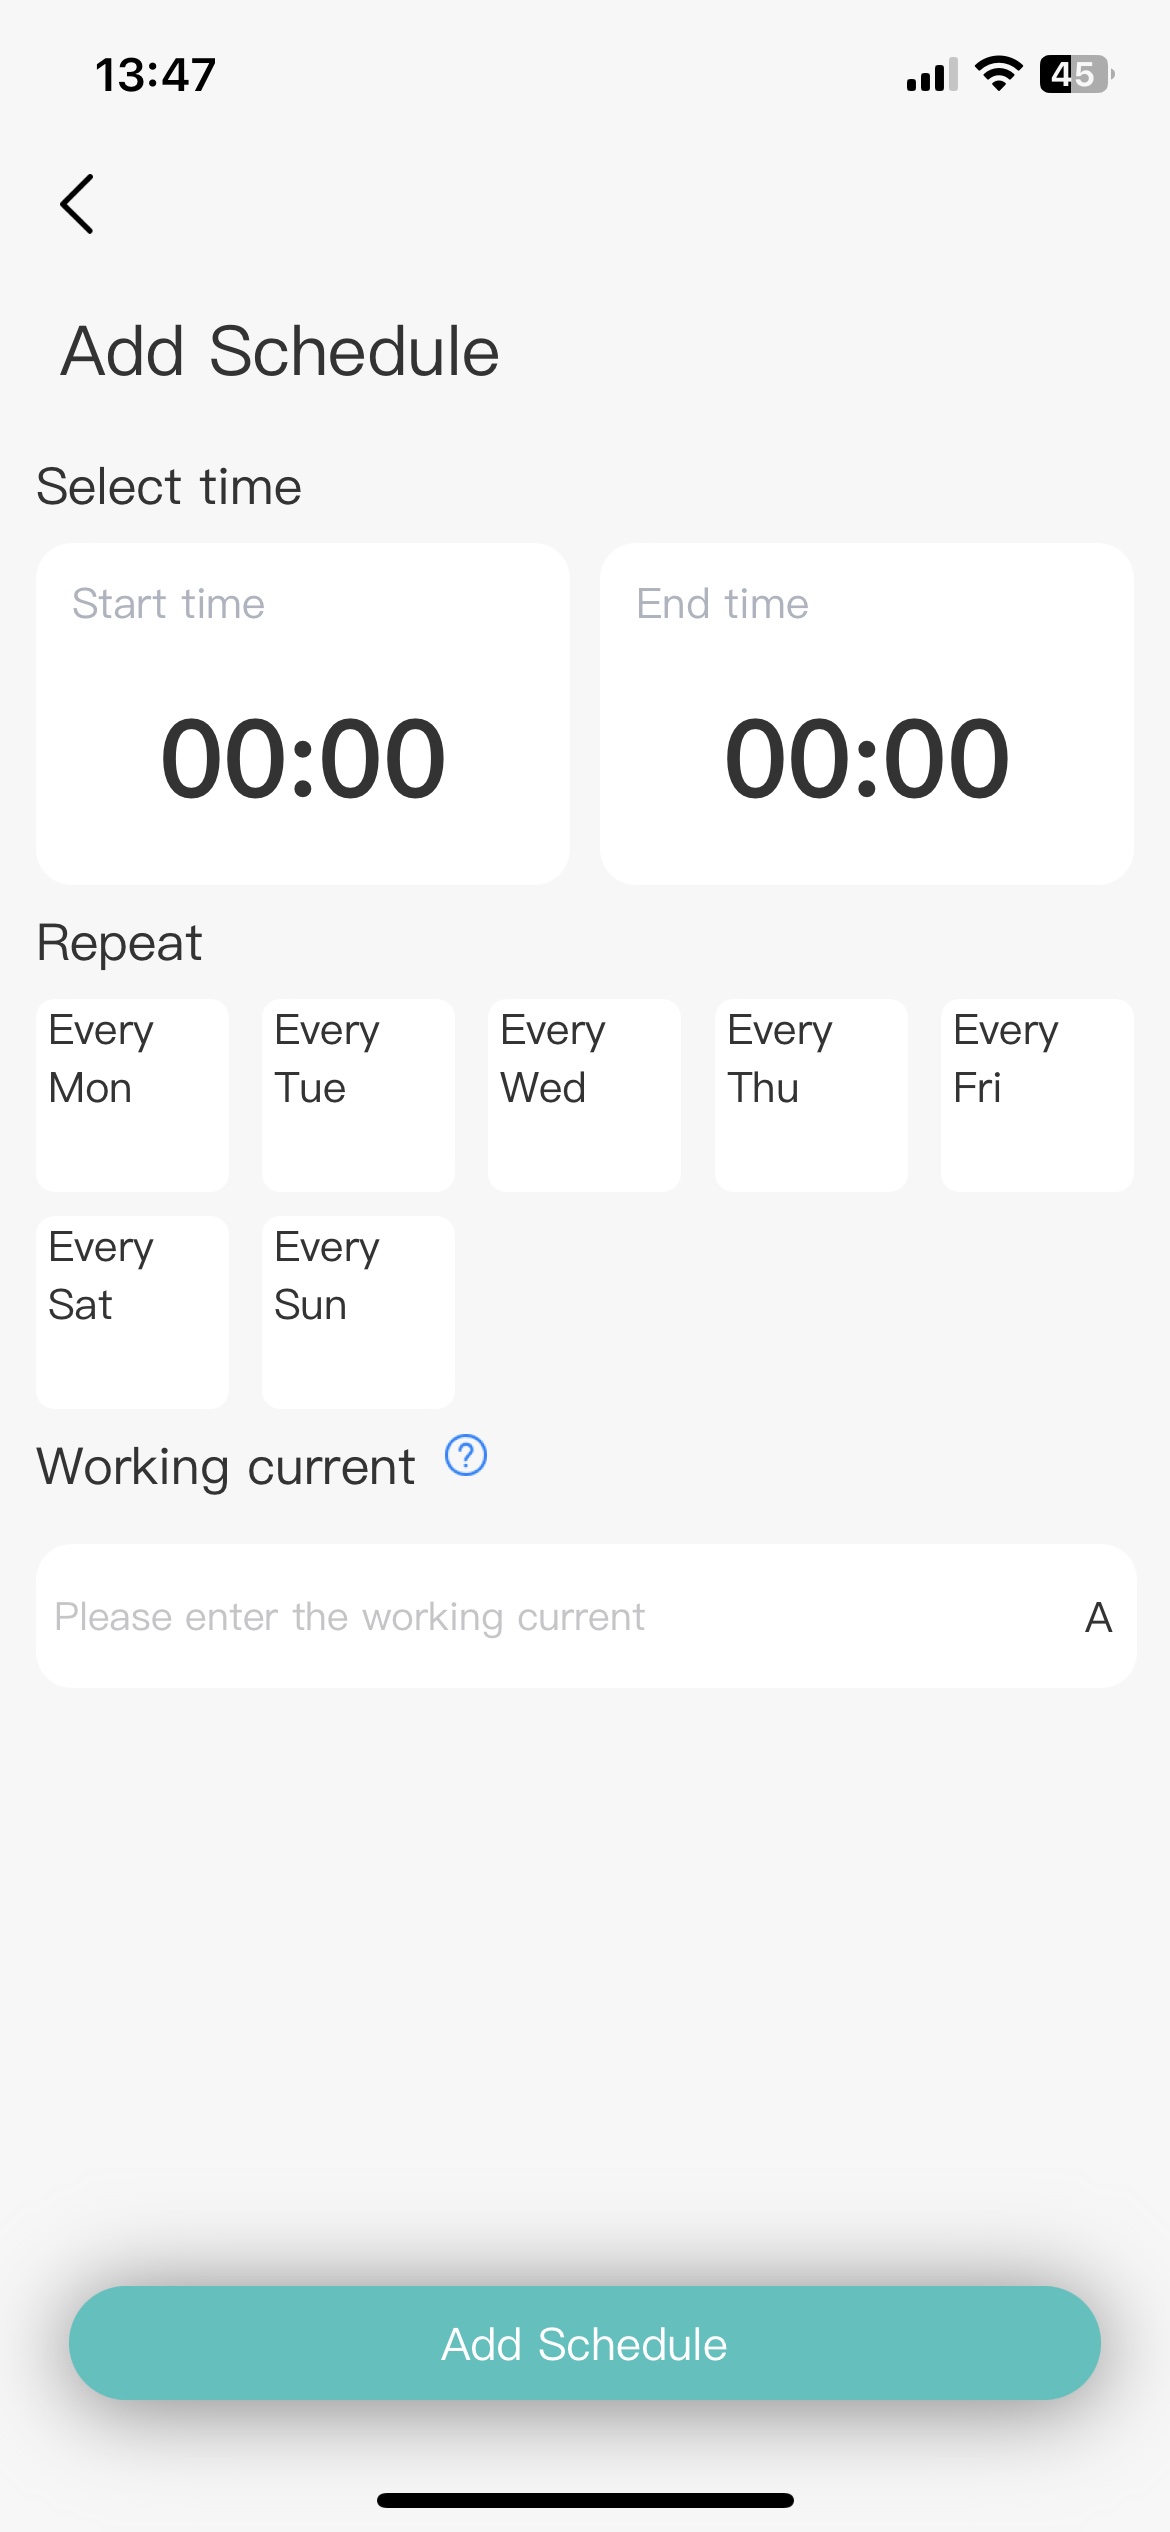
Note: When setting the start time and end time, the end time cannot be less than the start time, and the start time and end time cannot span days. You can set up to 8 scheduled charging.
Note: We also provide you with a demonstration video.
5.6. More
The device will provide some additional functions, you can click the “More” button in the upper right corner of the device details to view it. Click to continue to view more function introductions.
Aside: You may need to use Bluetooth to connect your device at some point, check this article to find out.