3. Config
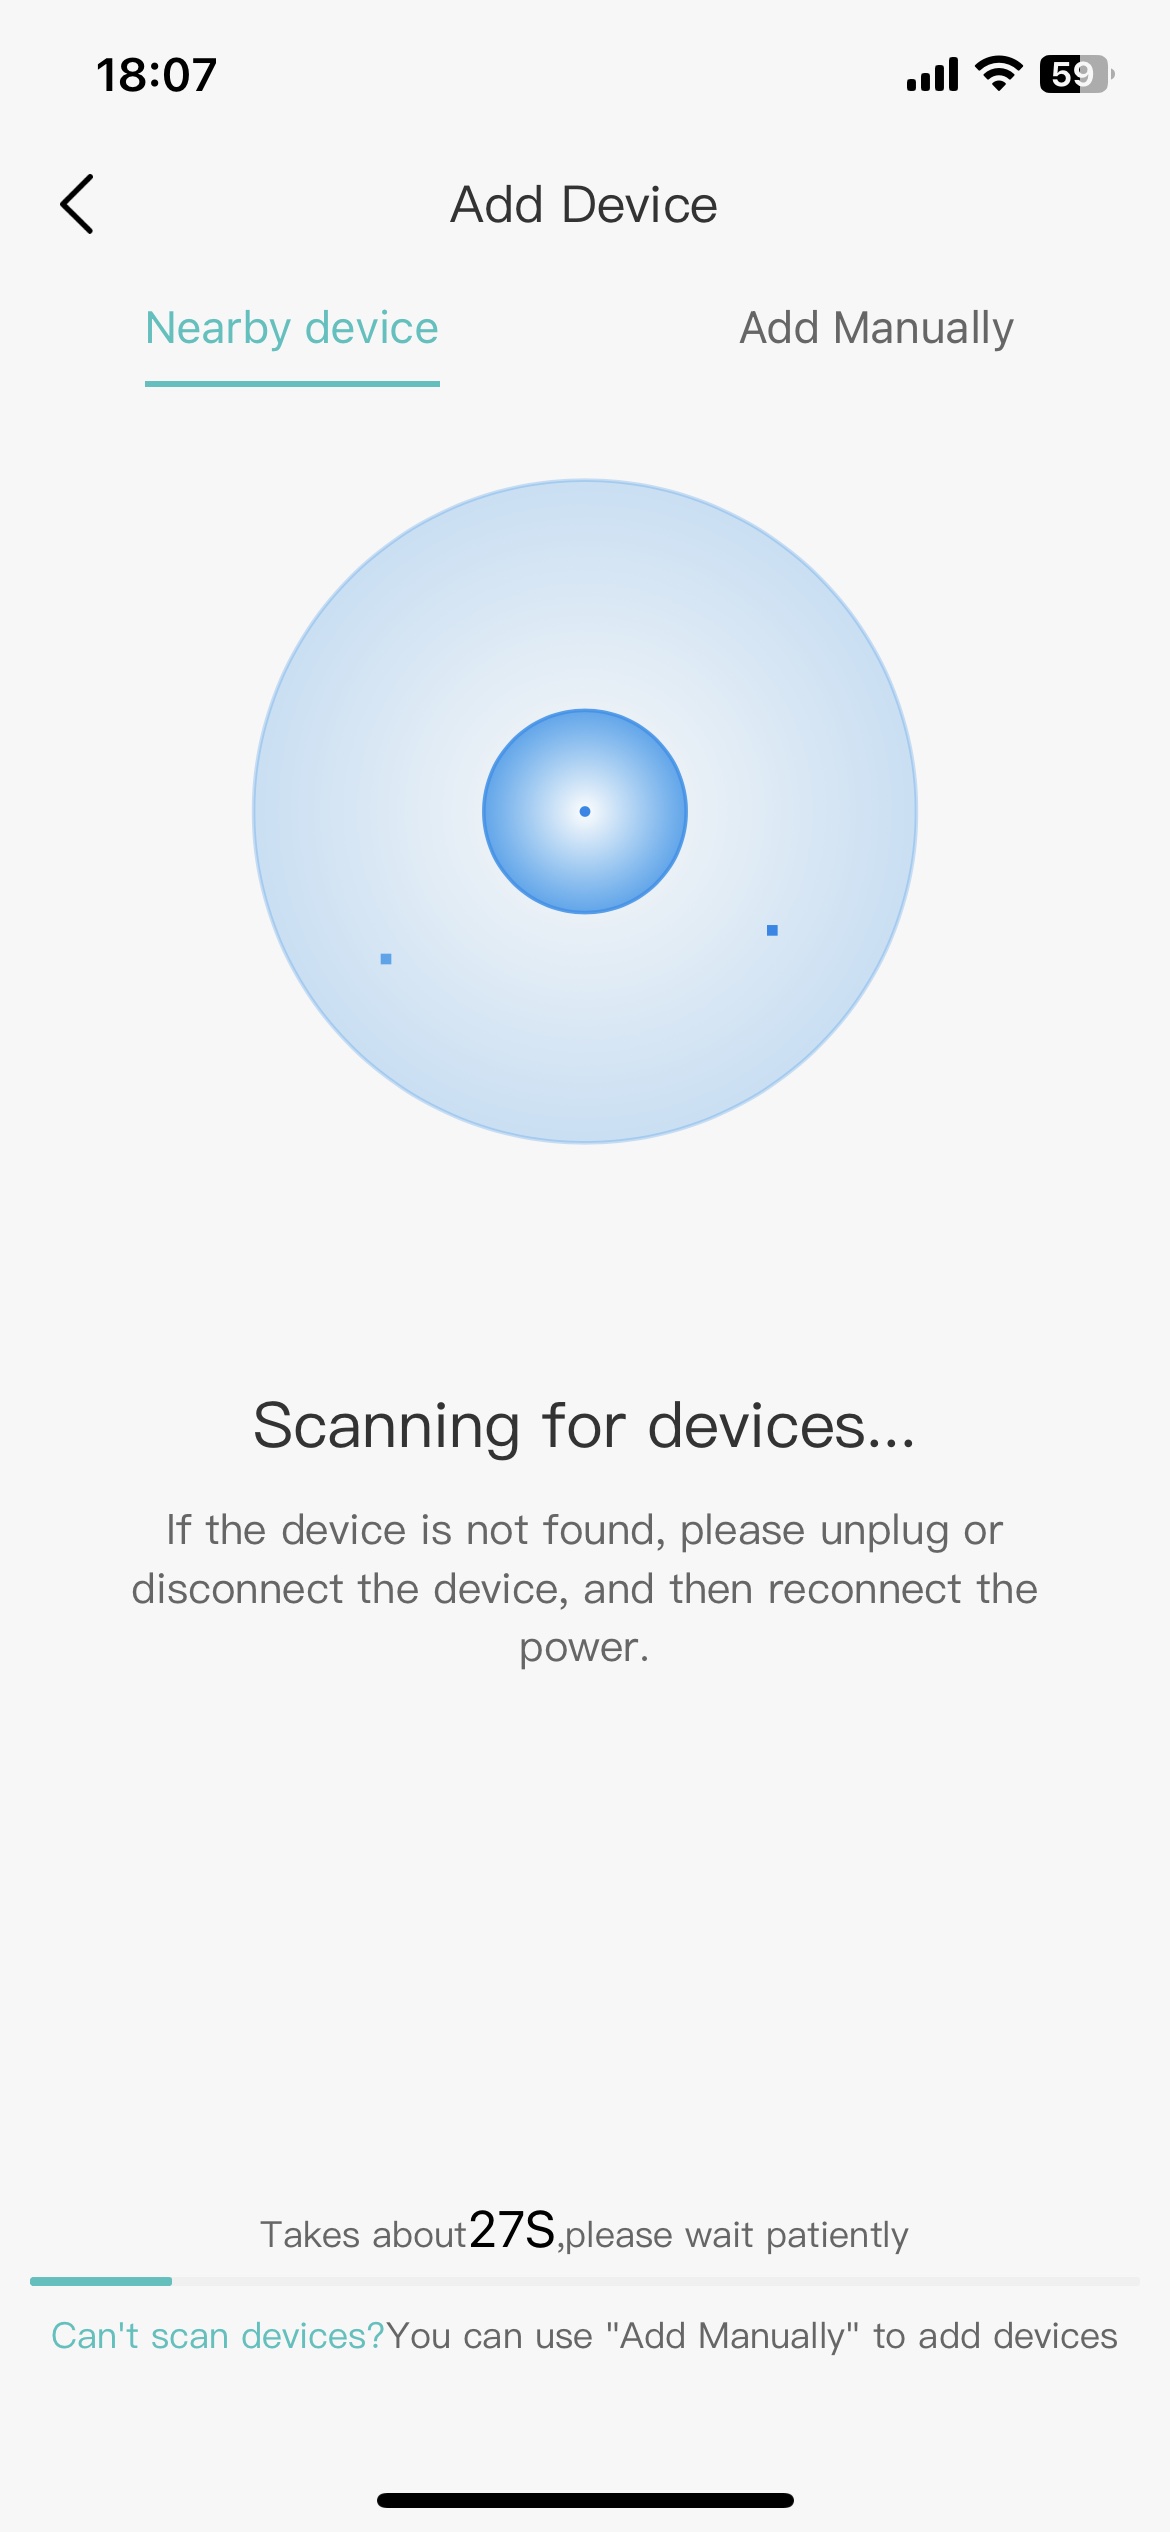
3.1. Scan device
After clicking “Add Device” on the “Fast” page, it will enter the state of scanning nearby devices.
3.2. Scan device results
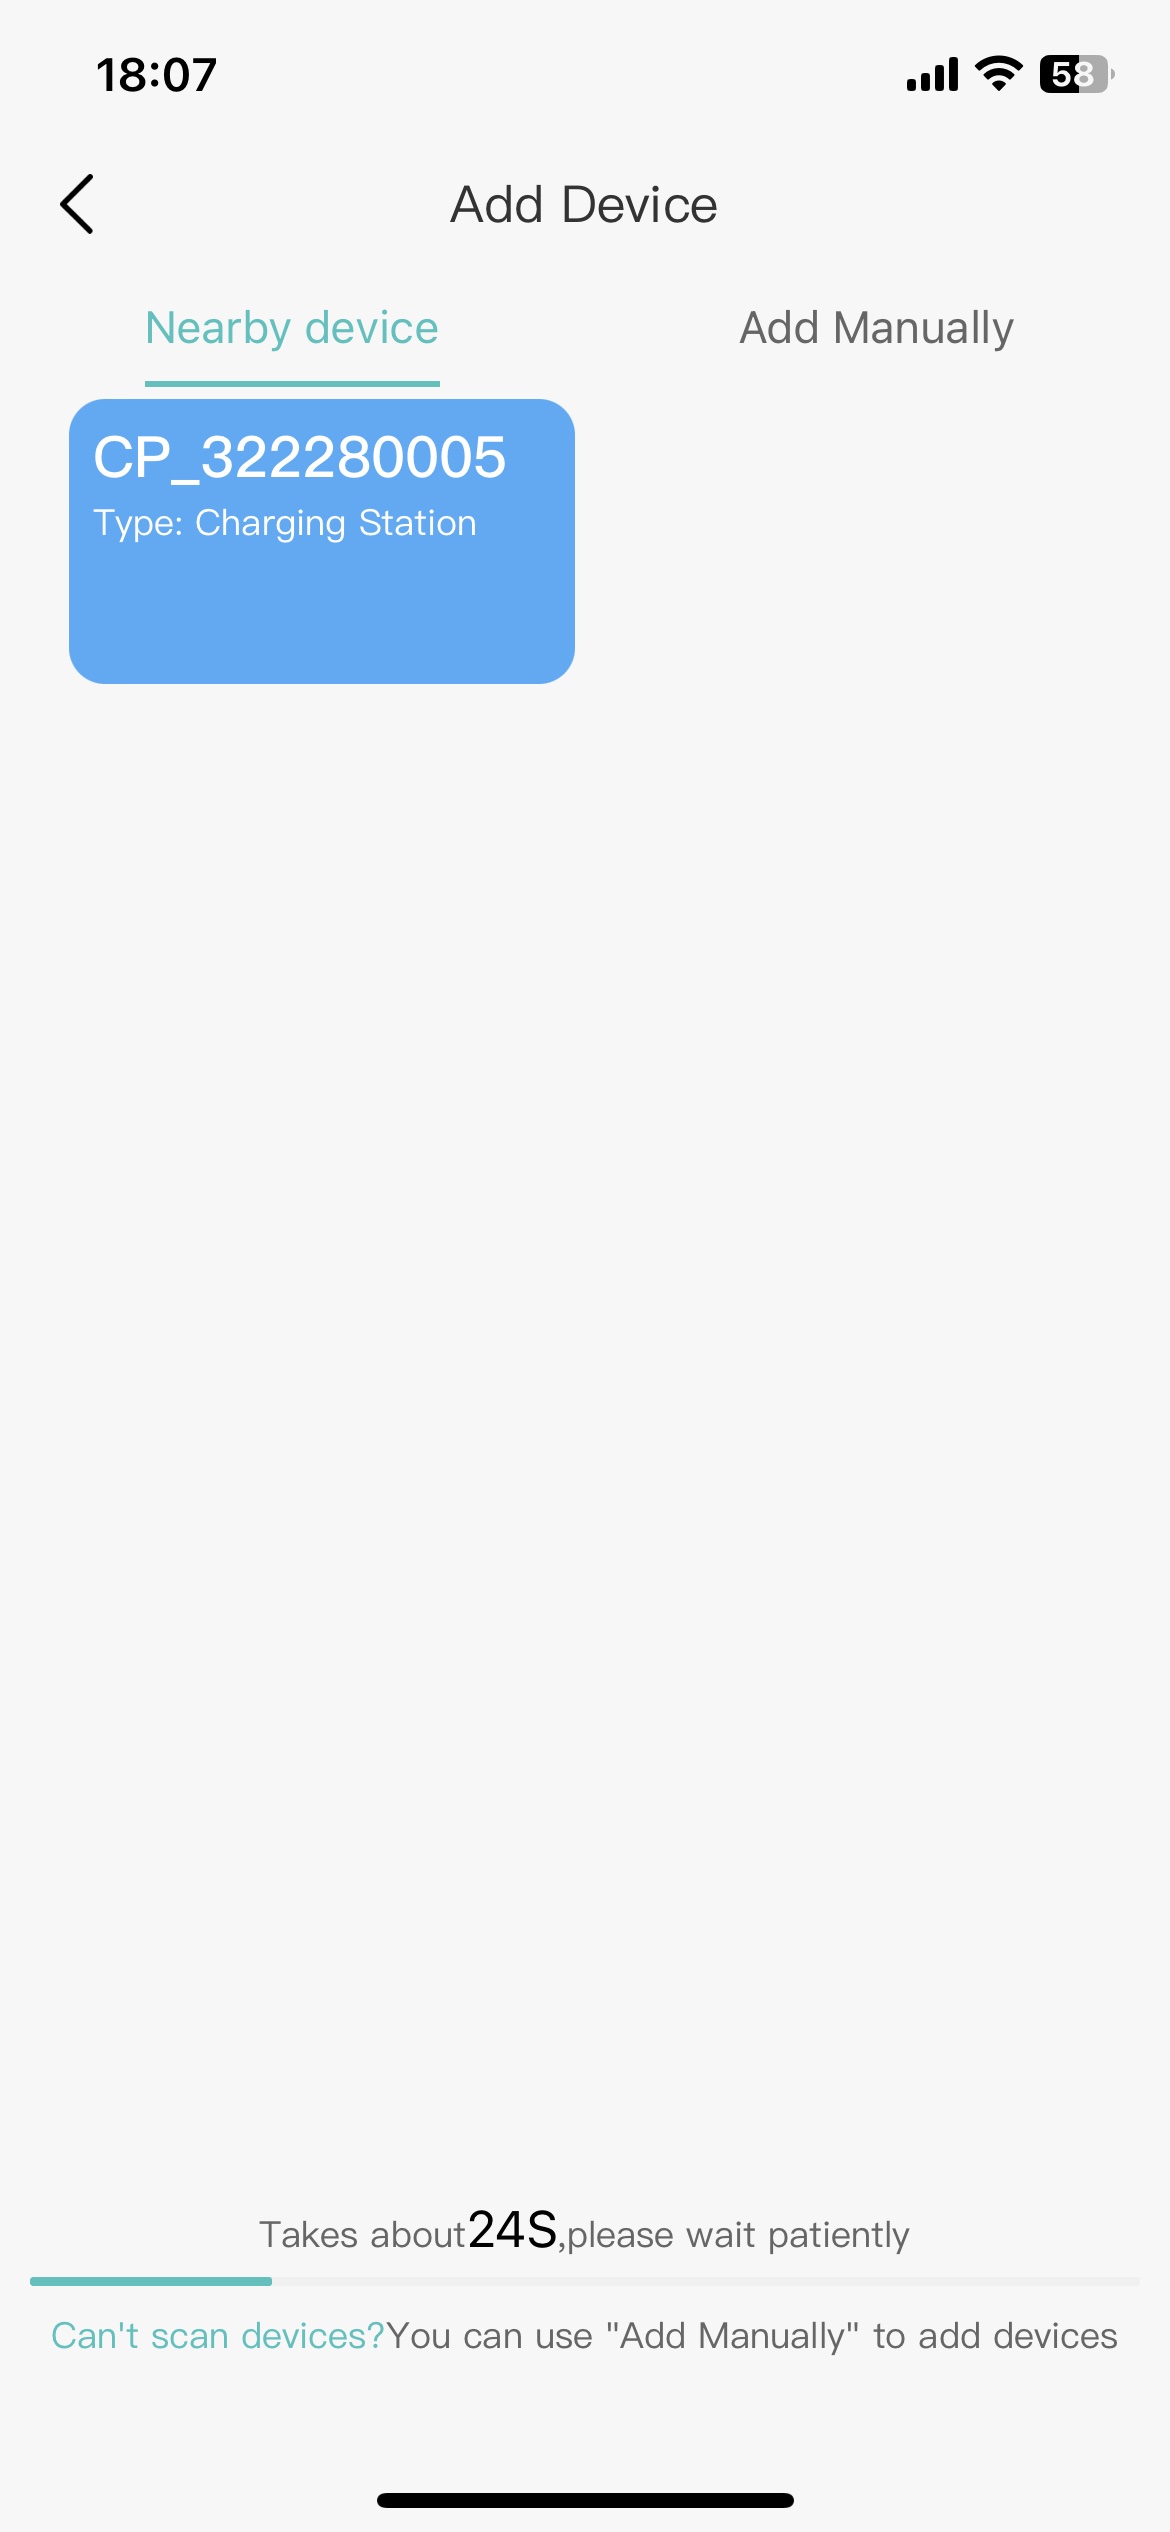
When the scan is complete, all devices near you will be displayed.
3.3. Connect device
Click on your device, such as “CP_322280005”, it will connect to this device, and you will enter the network configuration page.
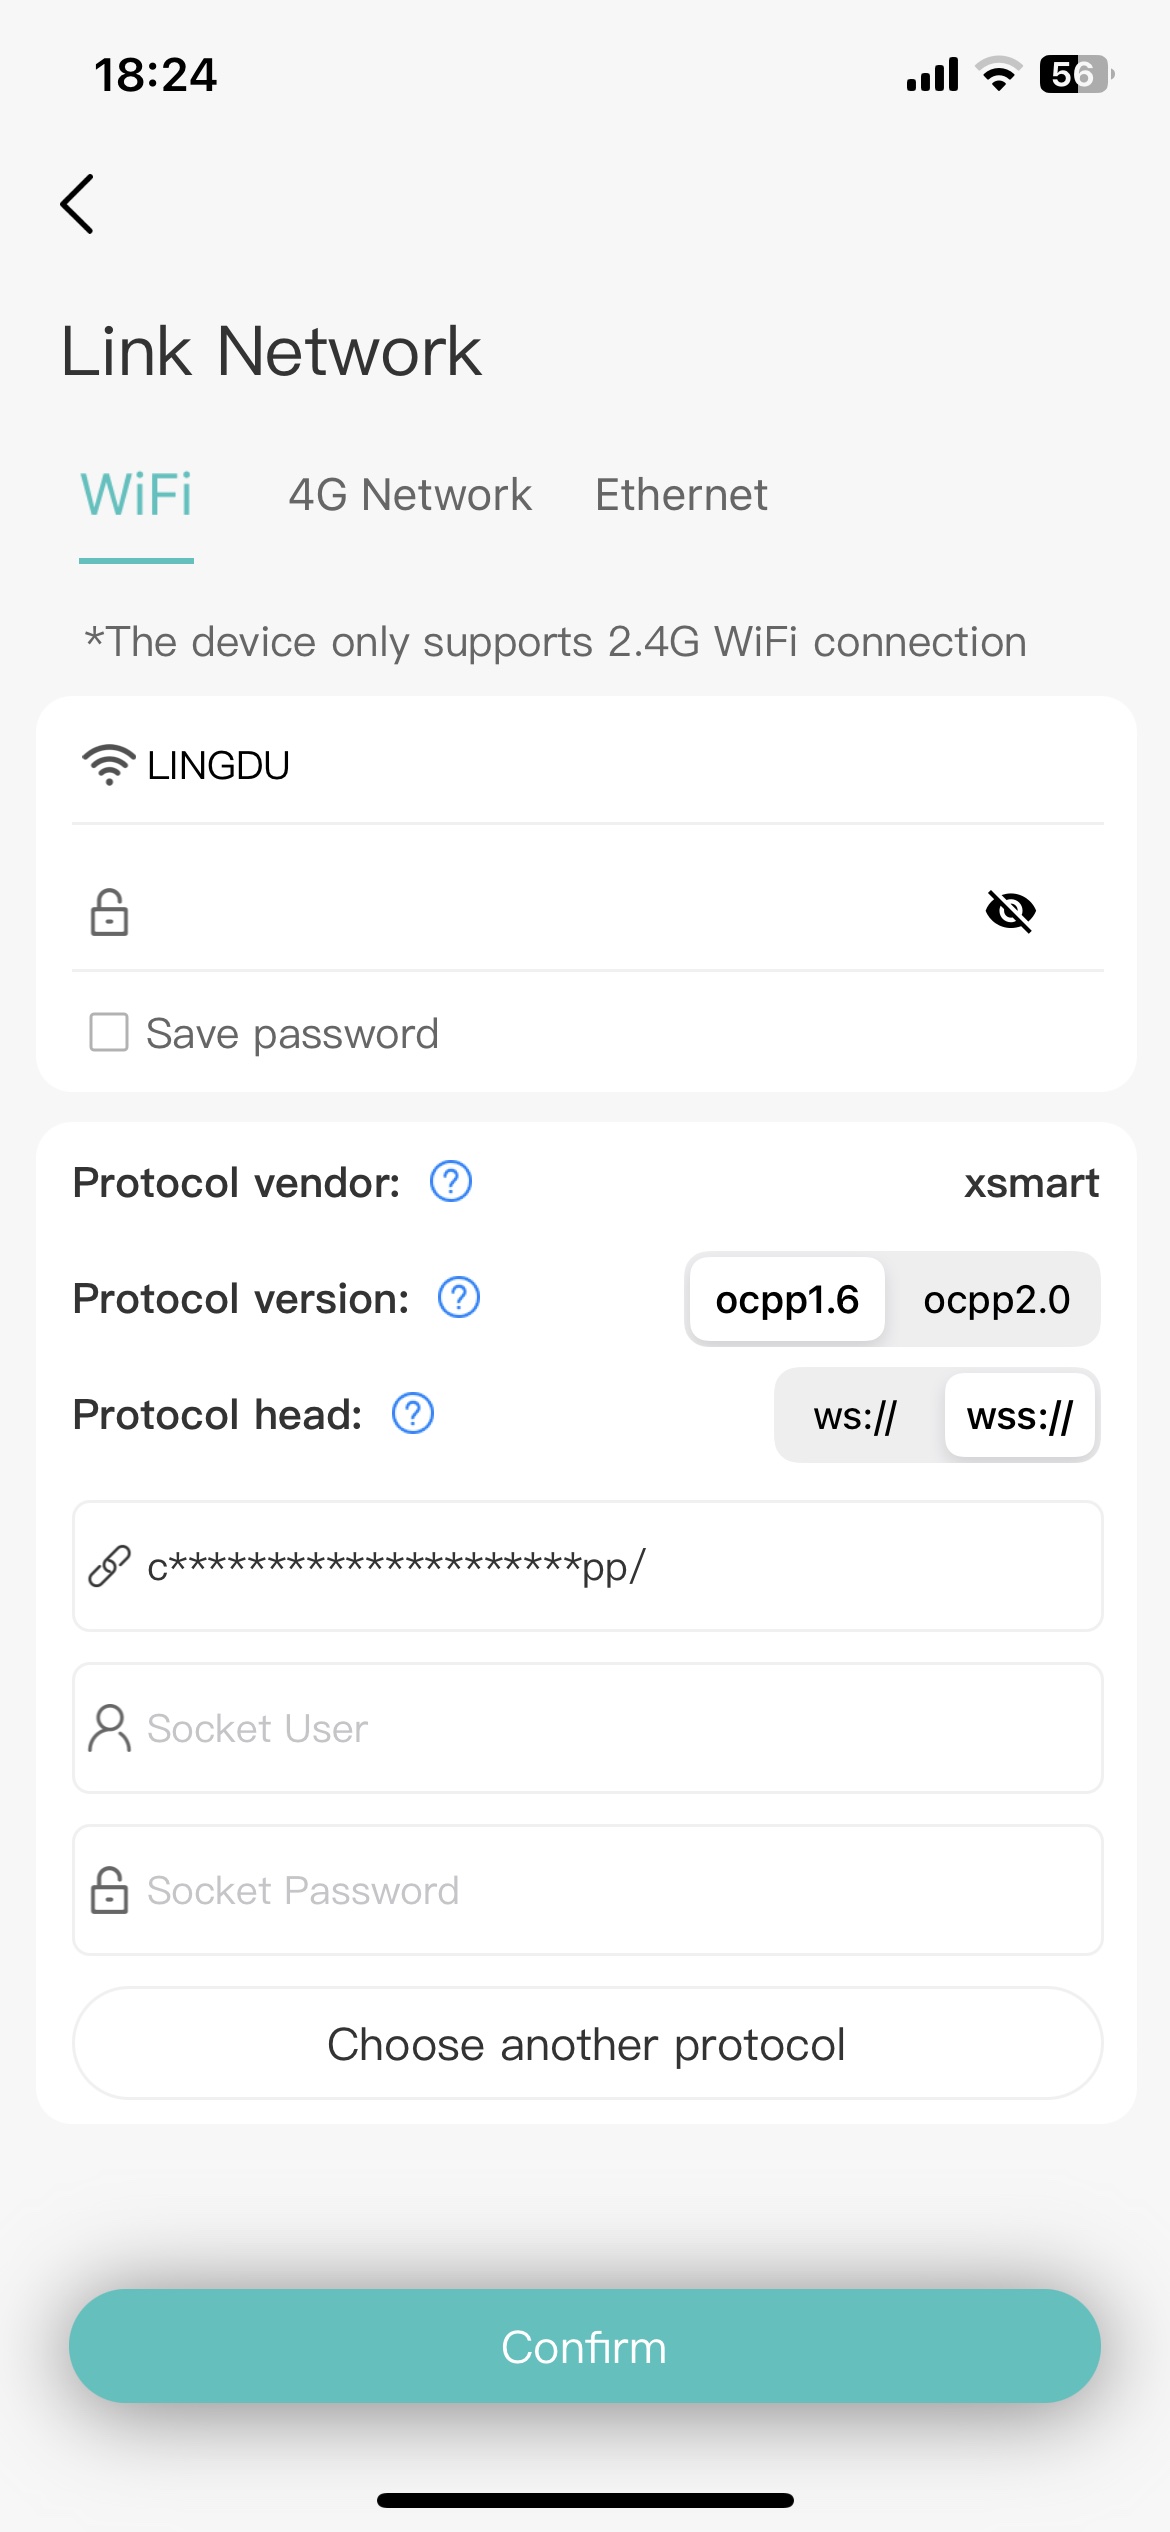
The device supports connecting to the target server through Wi-Fi, 4G network, and wired LAN port. This example assumes the device will be connected via Wi-Fi. You need to choose to connect to a 2.4GHz Wi-Fi network and enter the password of this Wi-Fi network.
We have configured a default Websocket configuration for you, you can use this configuration to connect to our server. And you can get the best app experience and long-term device support.
If your device fails to configure the network using the default Websocket configuration, you can click “Choose another protocol” to choose another Websocket configuration for network configuration. For other or custom Websocket configuration introduction, please refer to the connection.
3.4. distribution network
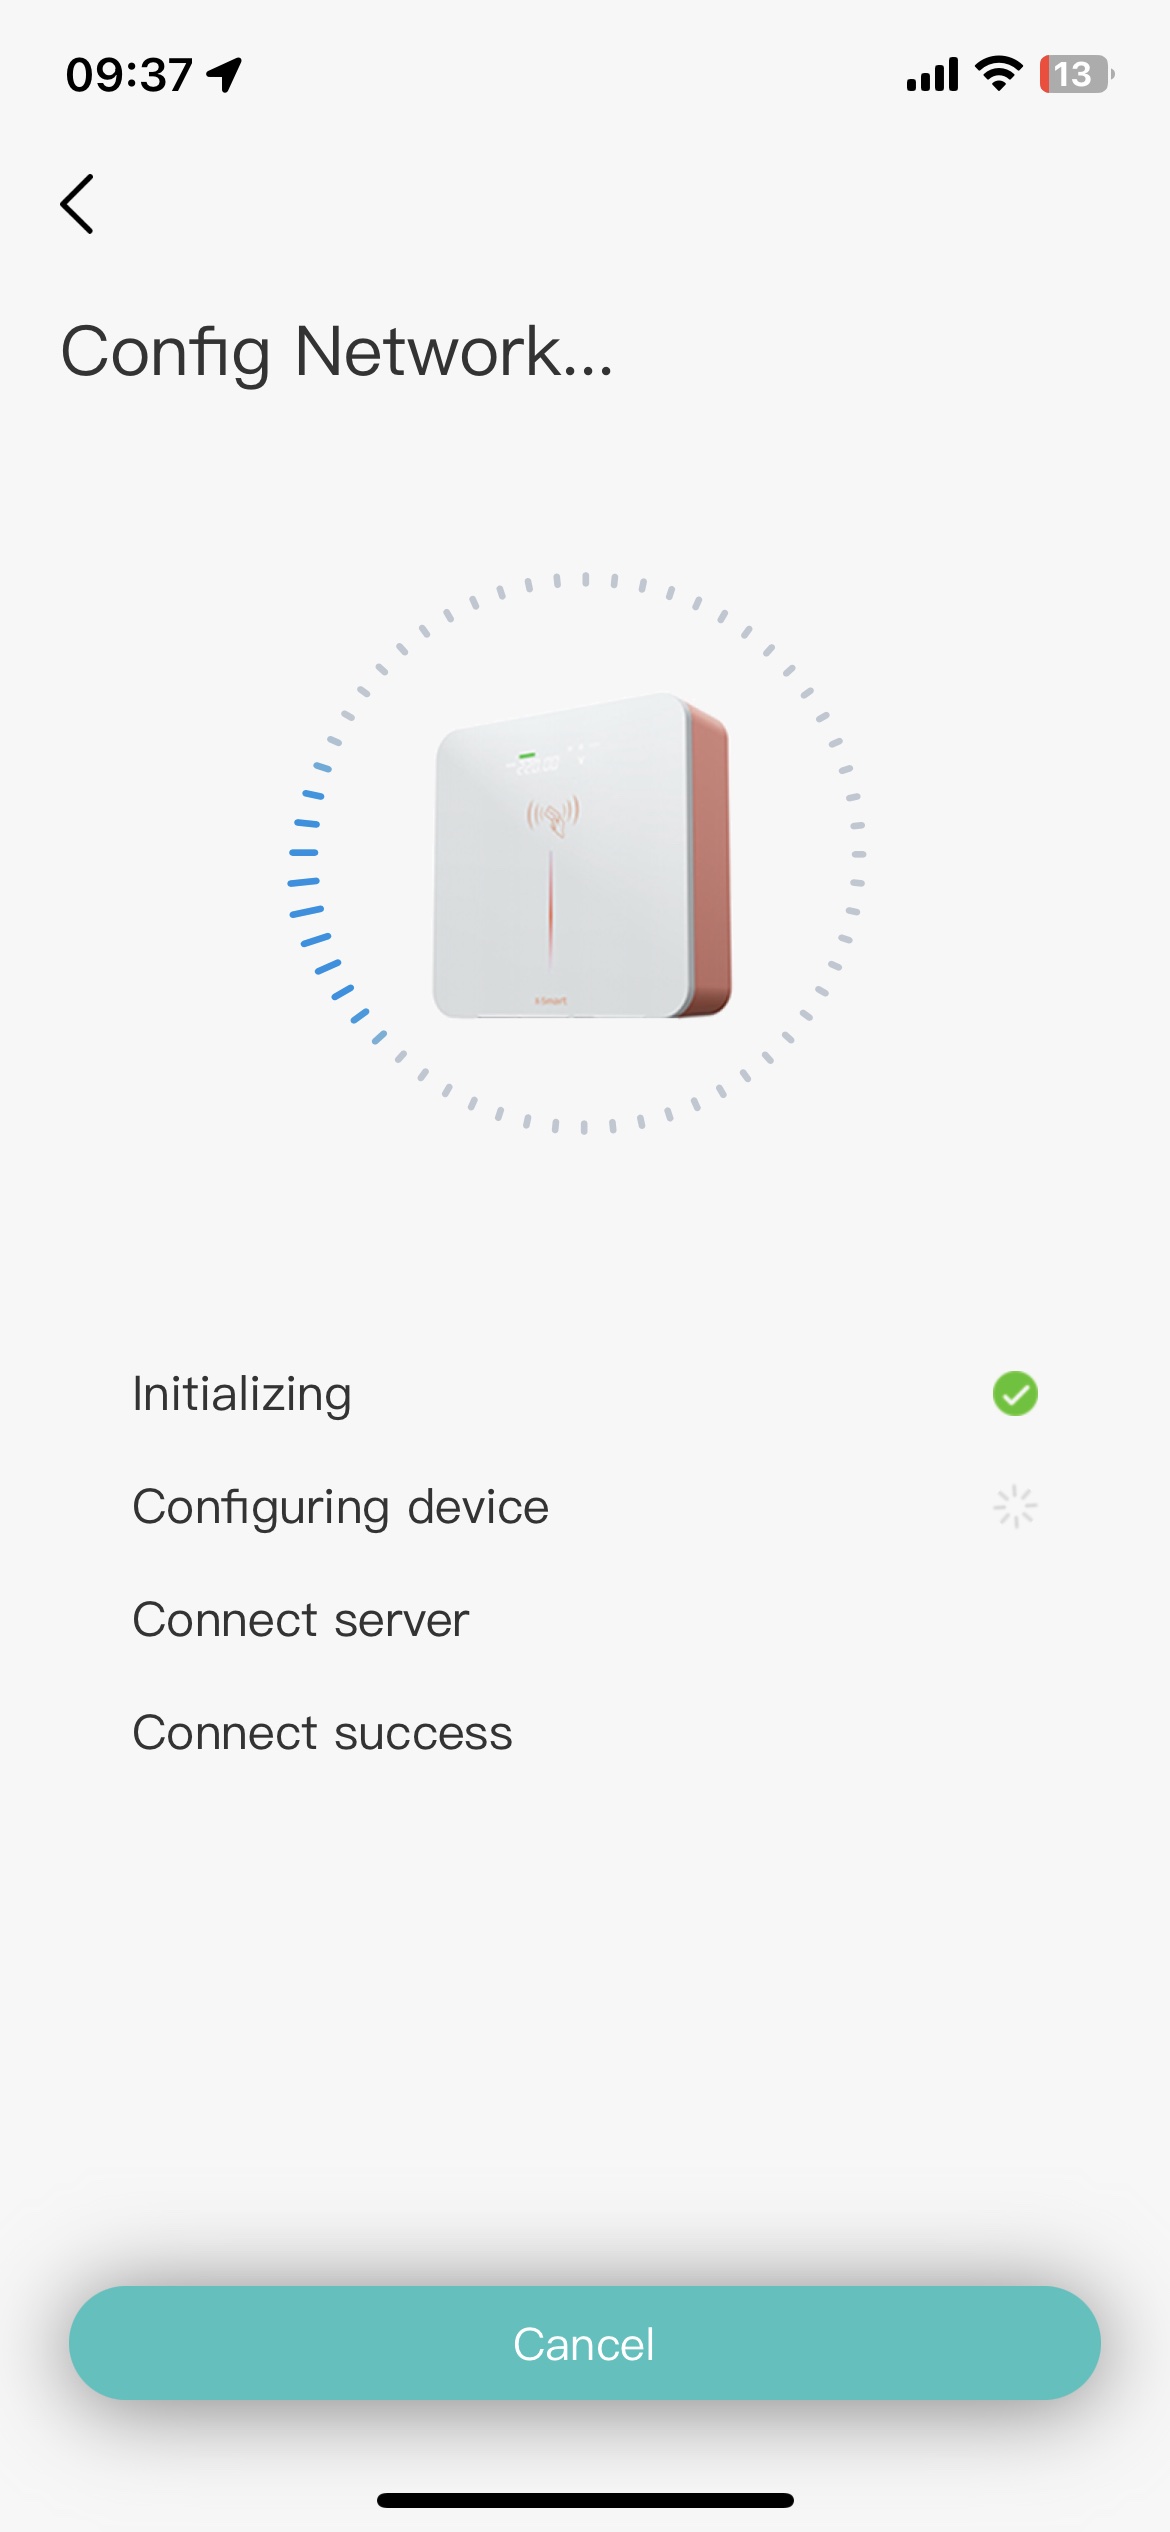
After clicking “Confirm”, your device will enter the network distribution process. This process will last for 1-2 minutes, please be patient.
3.5. Finish
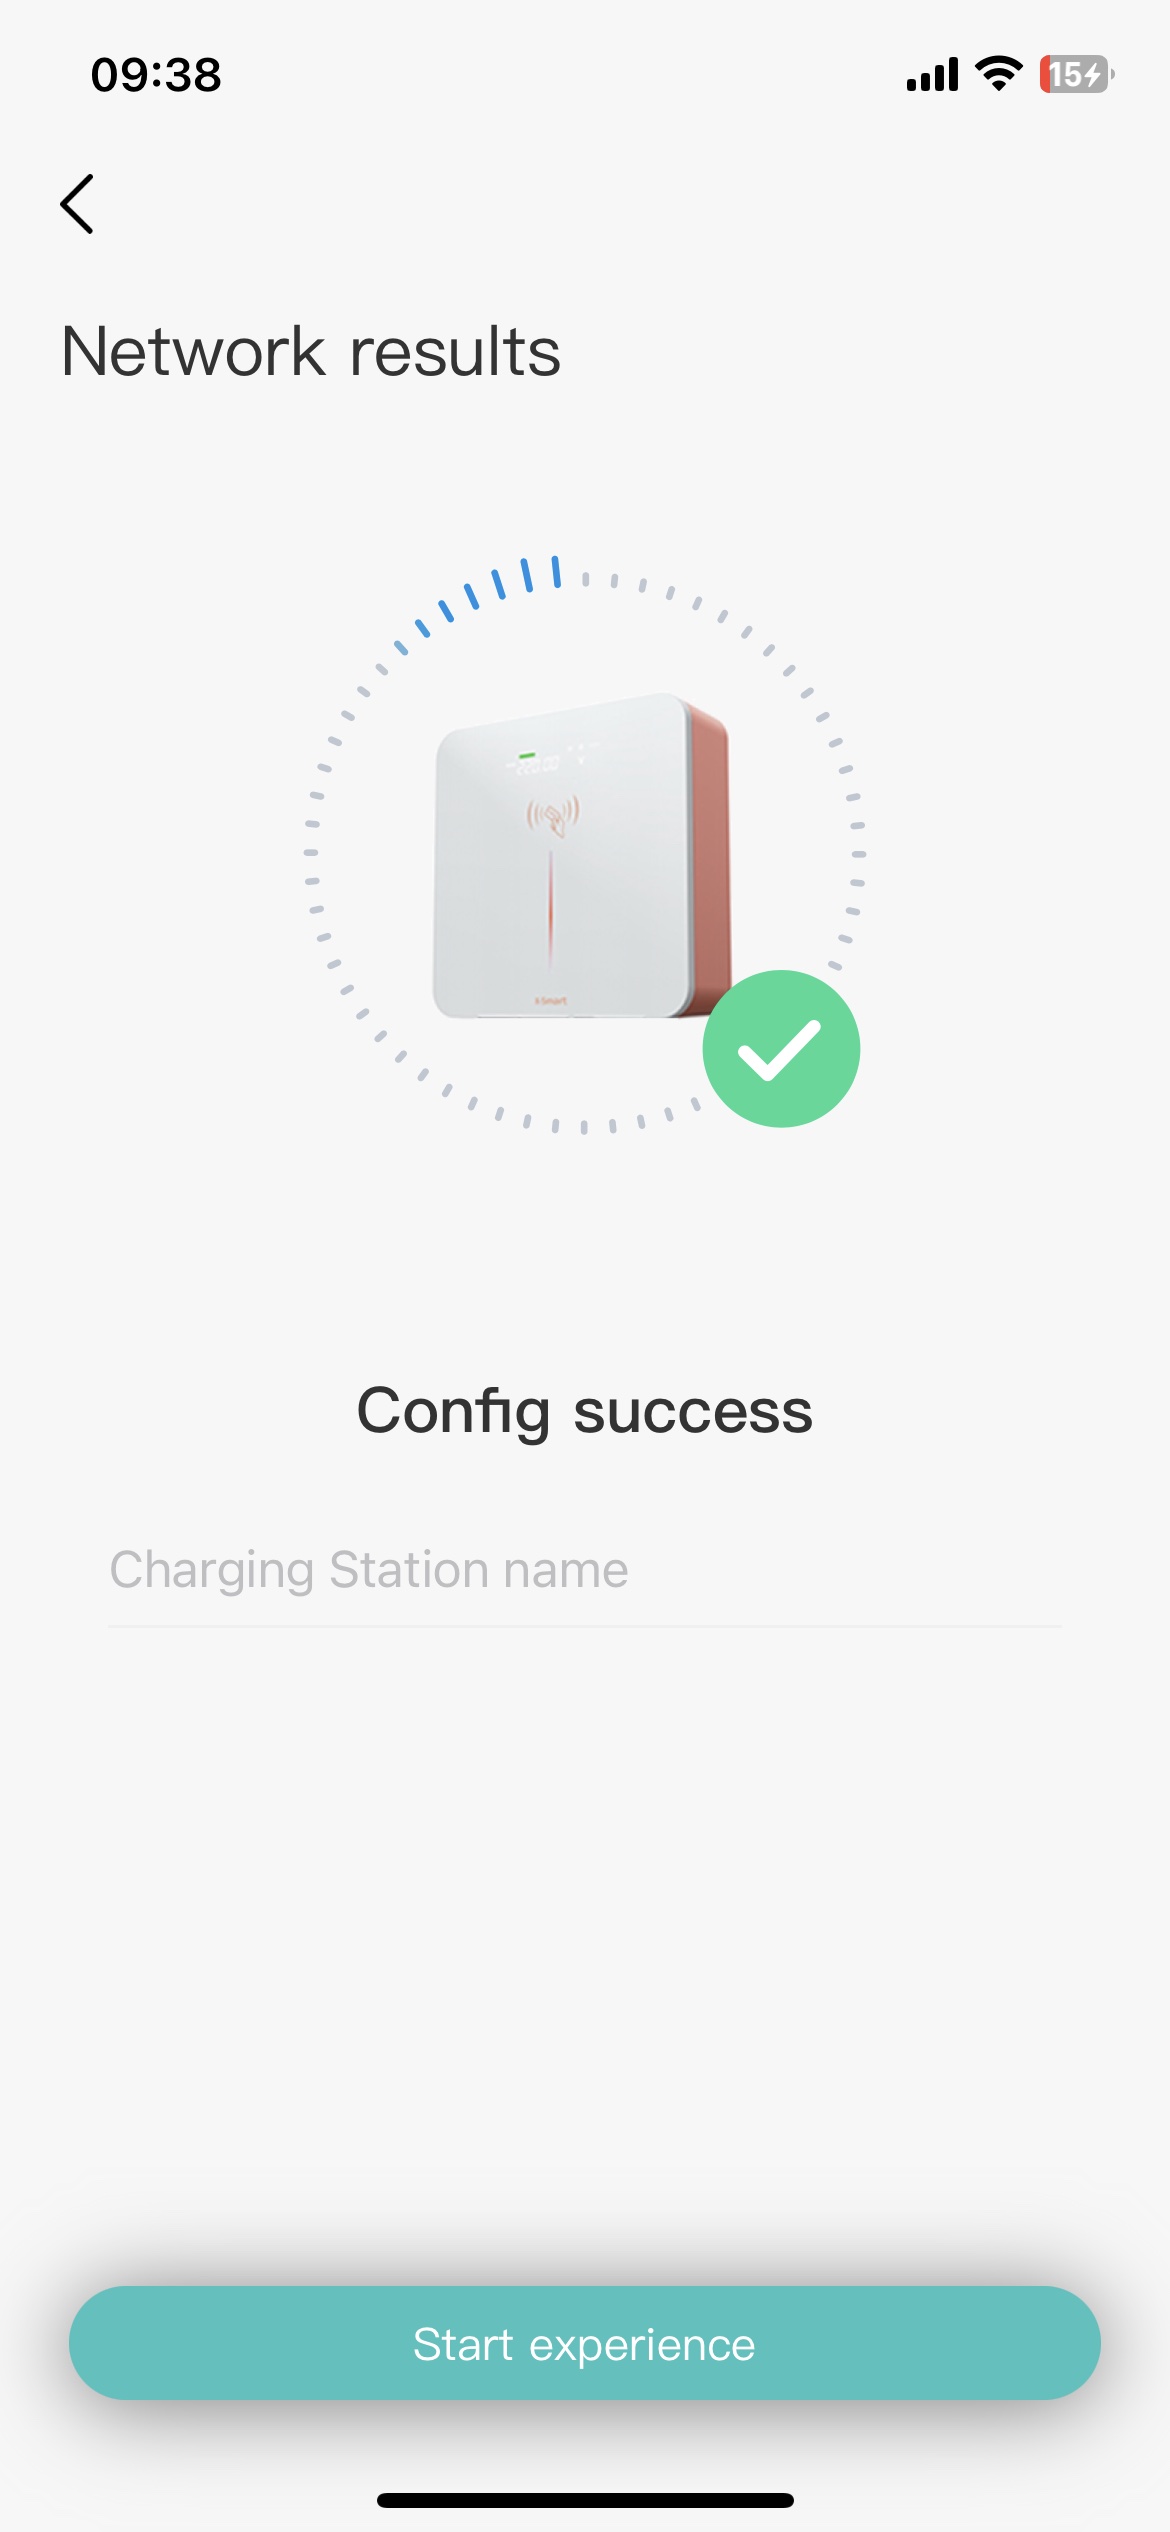
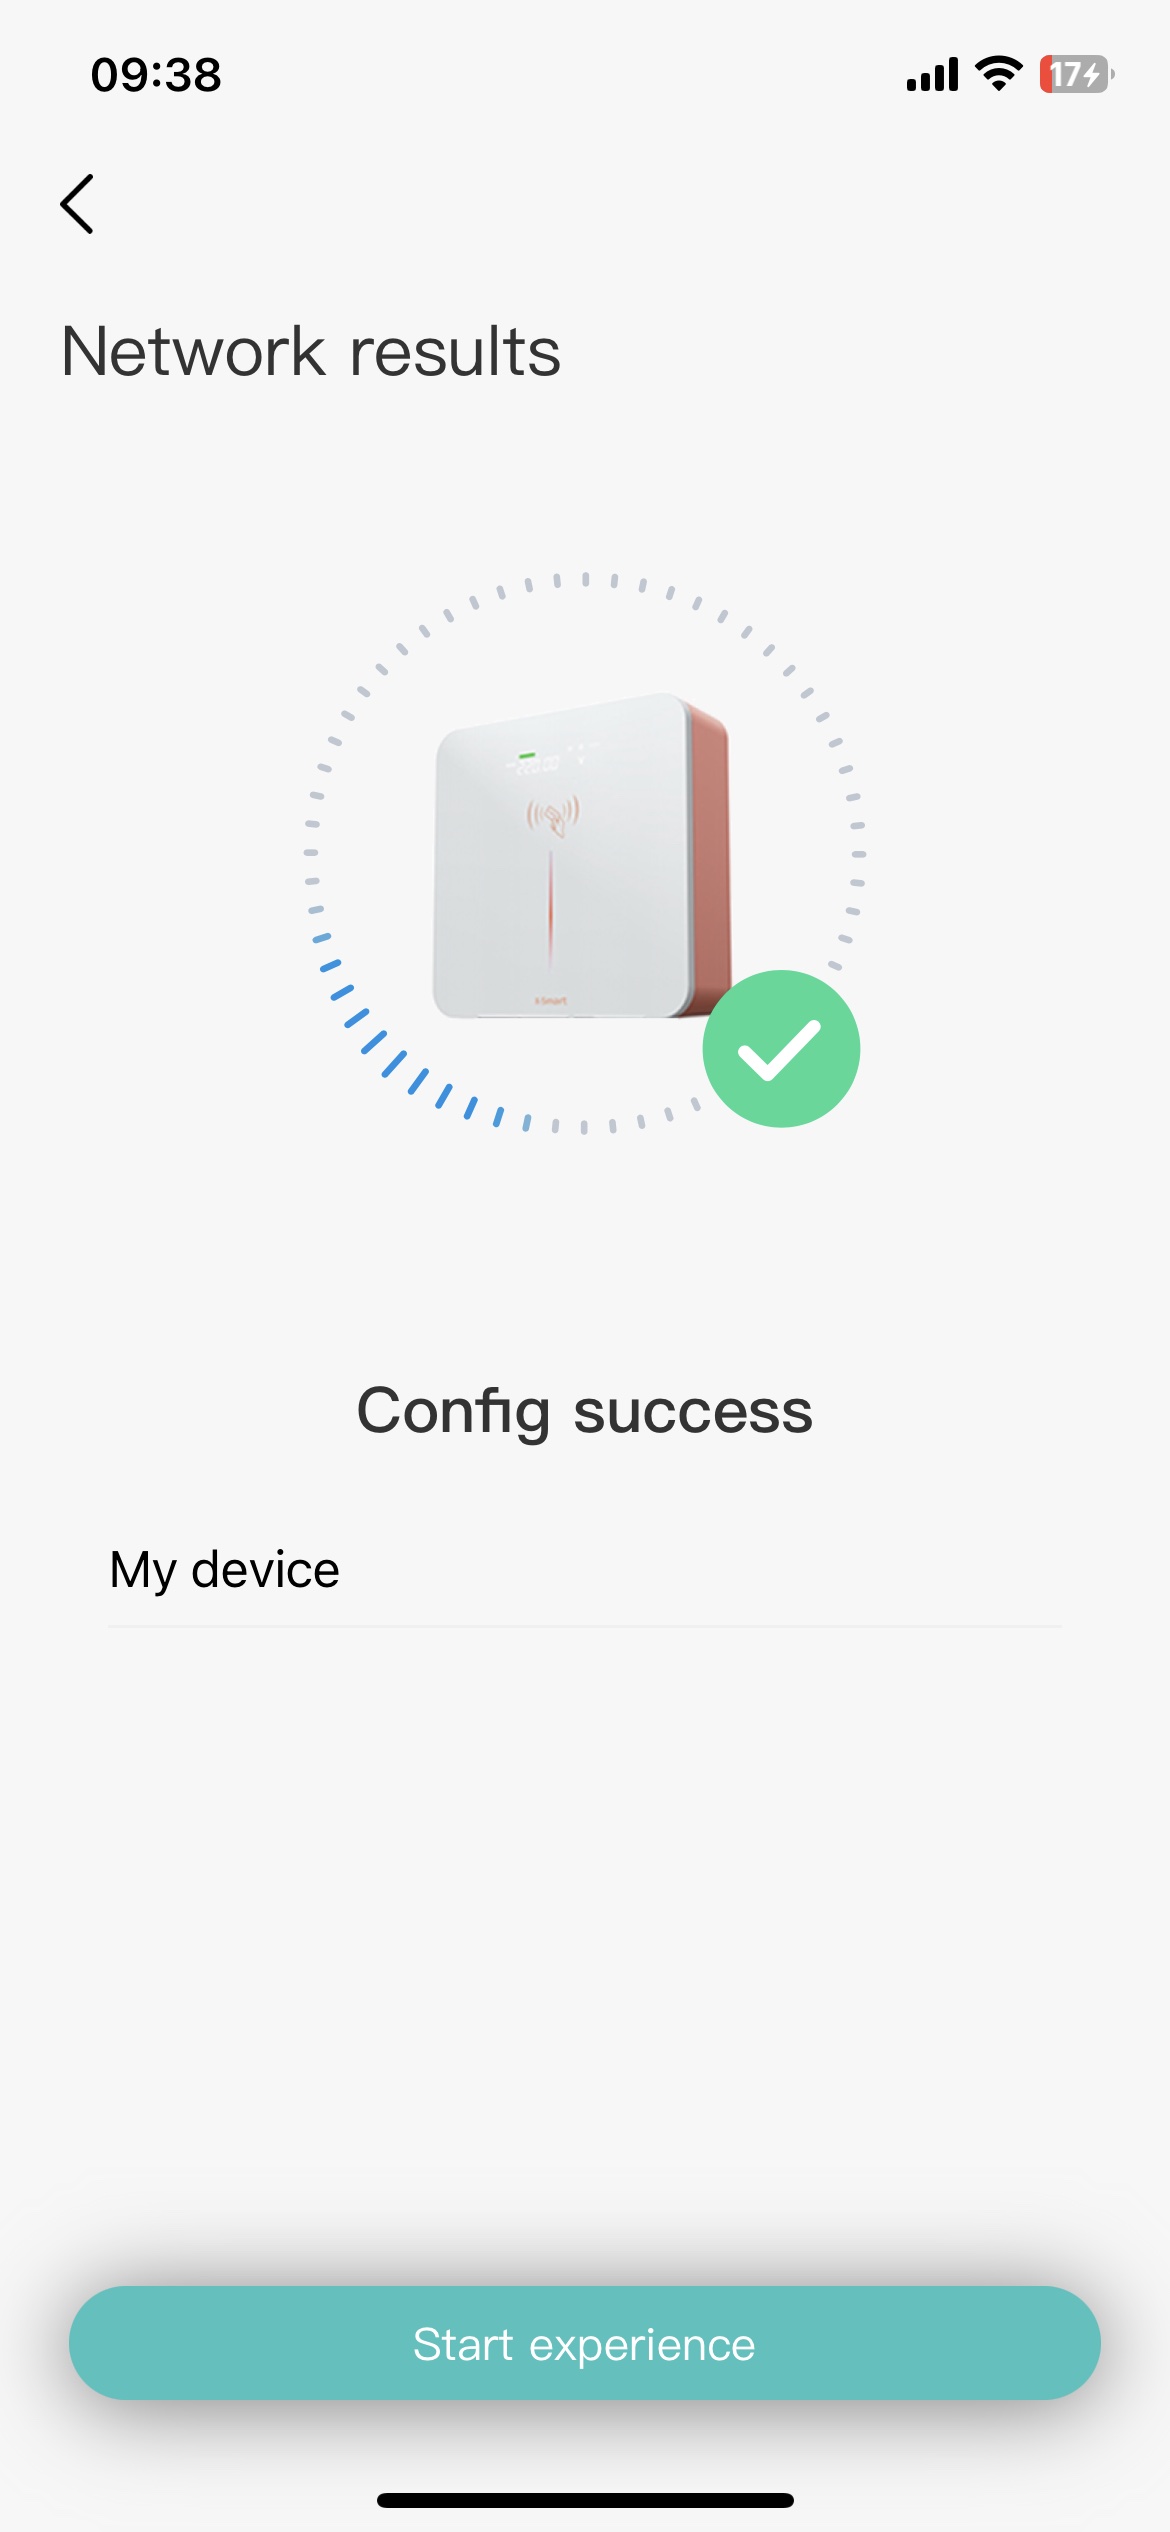
After the device “configuration network” is completed, you can name the device, or you can directly click “Start experience” to continue using the device.
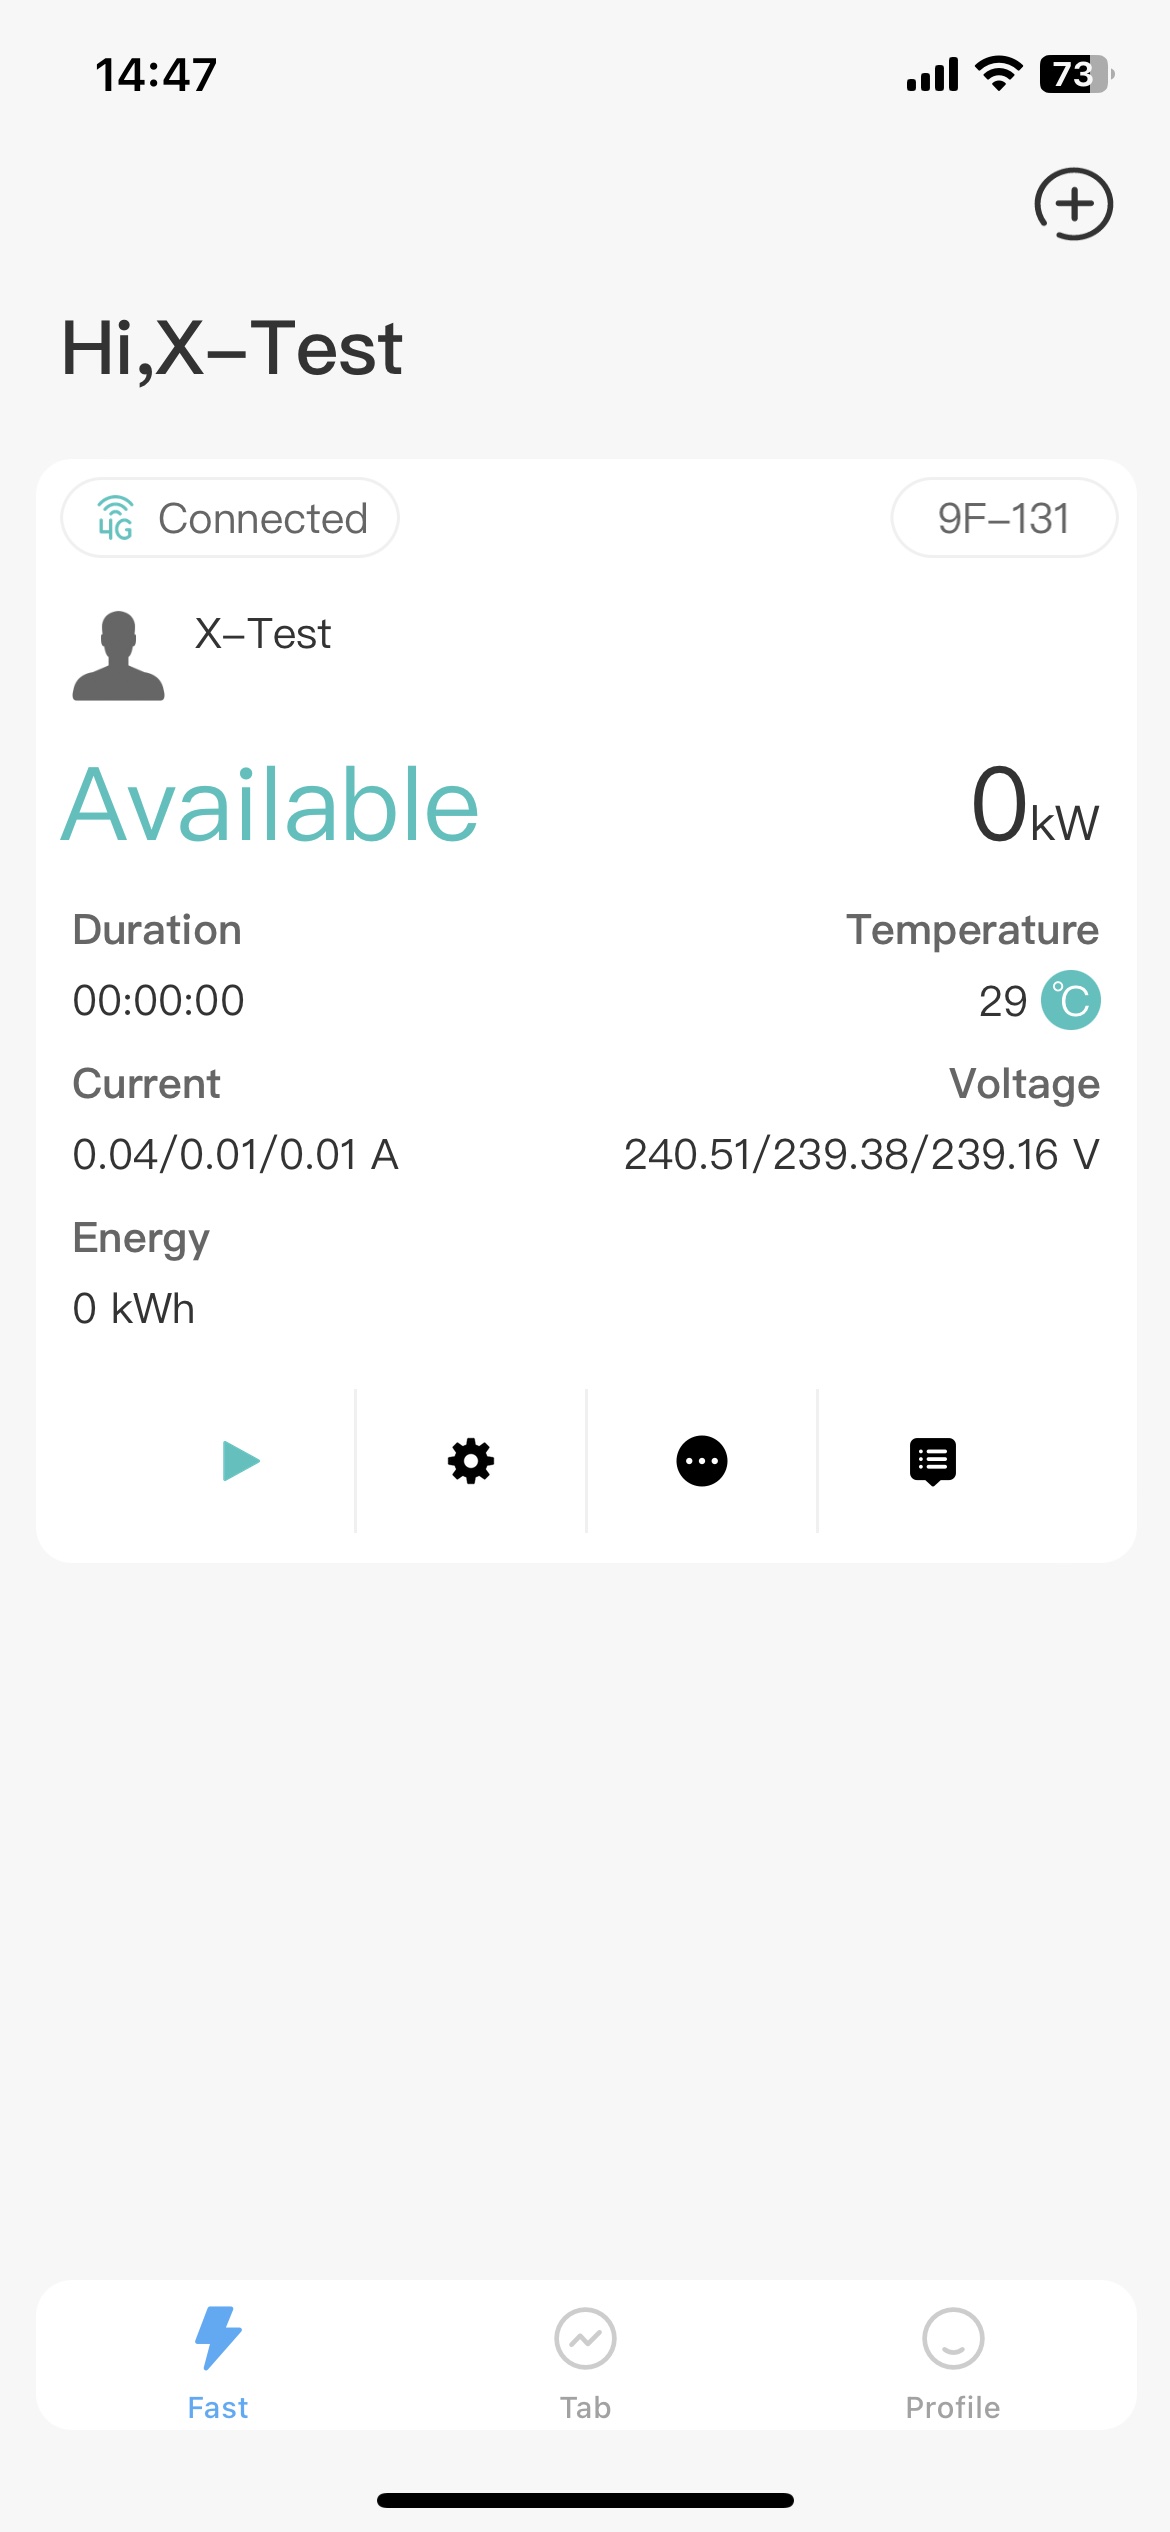
Finally, you will see the device appear on the Fast page. You can access and use this device anytime, anywhere.
Note: We also provide you with a demonstration video.